For a while now I've been wanting to do a post about post-processing. It drives me nuts when people say something about getting a good camera and then being able to take good pictures, or lusting after the latest and greatest equipment or blaming their equipment for bad pictures. Yes, having a good camera will result in better pictures - to a point. It will give you more control over the exposure and depth of field. But at the end of the day, it's just a tool.
Click to enlarge

I had another of these little "What The Duck" cartoon strips where the one guy is saying, "Your camera takes nice pictures" and the photographer responds with, "Your mouth gives good compliments."
It's just a tool, people. It's what you do with it that counts.
But even once you master the tool and your pictures are correctly exposed and in focus, even when you apply your creativity and choose your subject matter carefully and compose the image well, you might still be left with bland photographs if you ignore the second most important part of digital photography: the post-processing.
Basically, messing around in Photoshop or some other photo editing software to bring out the best in your images. If you need help learning to use Photoshop and Lightroom, head on over to PHLearn. Here are a few basic edits I do in Photoshop to my studio photos when people are the subject.
First of all, I shoot in RAW format which retains all digital information in the file and performs no compression. It allows easy and quick tweaks in exposure, shadows, brightness, contrast, saturation and white balance. So almost all of my edits are done in RAW as I open the file in Photoshop and then I might do one or two things in Photoshop after that.
When I shoot in studio the first thing I do once I've set up my backdrop and lights is to take a light meter reading to obtain correct exposure; I then set my camera as indicated (usually ISO 100, shutter speed will always be 1/125th as that's what my lights sync at, and aperture will range from f/5.6 to f/8, depending on how bright I set my keylight.
The second thing I do is to set a custom white balance using my grey card. Besides correct exposure and focusing, this is the best thing you can do to improve the quality of your images.
Okay, once I've set up and taken the images I move onto the post-processing. The above steps ensure that the basic image I am working with is correctly exposed. I weed out anything that isn't tack sharp at 100% as I need to be sure the image quality can withstand being blown up huge and hung on my client's wall.
I keep my contrast and saturation neutral in camera (as in, I don't adjust the default parameters) to prevent blowing highlights or causing any of the colours to go nuclear. Also, do not add sharpness in-camera - leave that setting alone as creates a "digital" look to your pictures. You need to attain the sharpness with your lens and correct focusing.
Here is an image from my last session, as shot, with no adjustments at all:
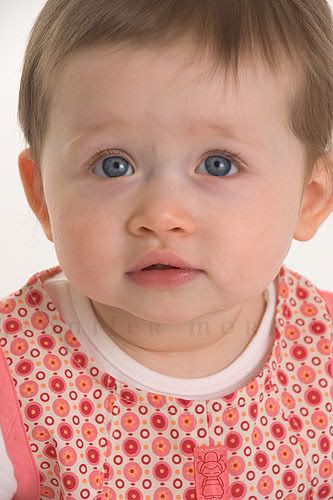
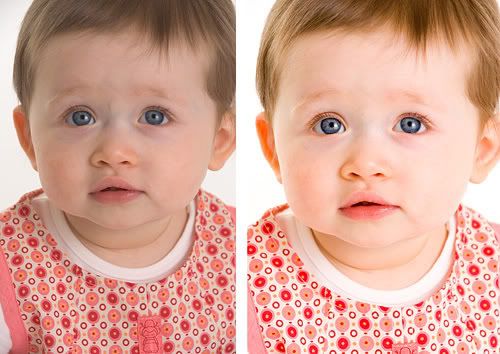
It's sharp, kid is cute ... but it lacks a little something. I like my image bright and contrasty, so in RAW editor I'll boost the exposure by +0.5, shadows by +15 (to bring them to +20,) contrast by +30 (to bring it to +55,) and saturation by +7 (to bring it to +7.)
[Why do I adjust exposure when I've used a light meter? Either simply for taste, or because I shoot quickly in succession sometimes and it doesn't always give my strobe light time to recycle, so the output might not be at full power.]
So here's how the image looks now:
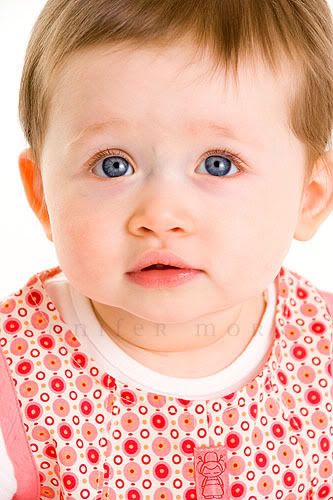
Much better! Now all it needs is a little healing brush to take out the prominent blue vein next to her eye and a slight crop and the proof is ready to show:
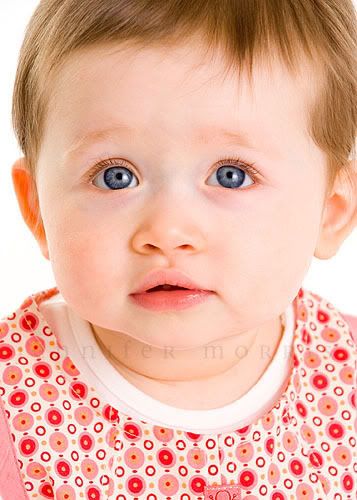
A quick side-by-side of the original and the edited file:
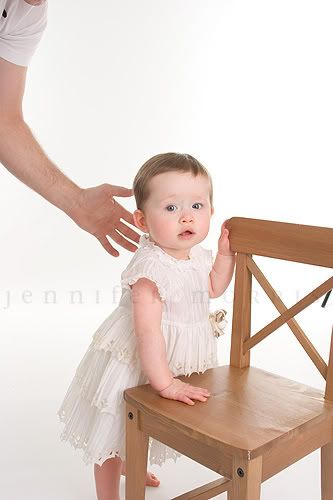
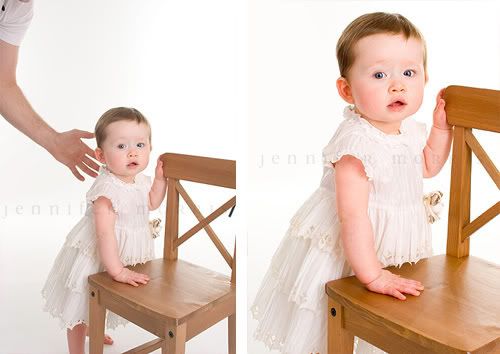
Here is another image from the same session. The little girl was 3 days shy of 1 year old and not entirely steady on her feet, so her dad was nearby to make sure she didn't fall. I quickly grabbed this shot before he had time to remove his hand, so it became my job to remove it in Photoshop.
First, straight out of camera with no tweaks:
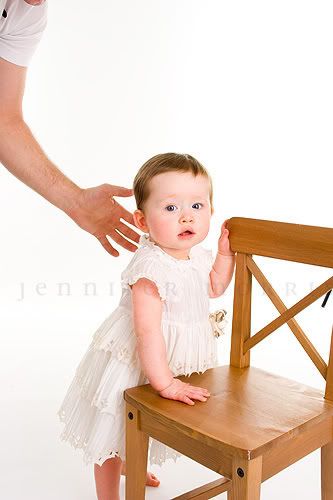
Same tweaks in RAW editor except I took saturation to +10.
A bit of editing to remove Dad.
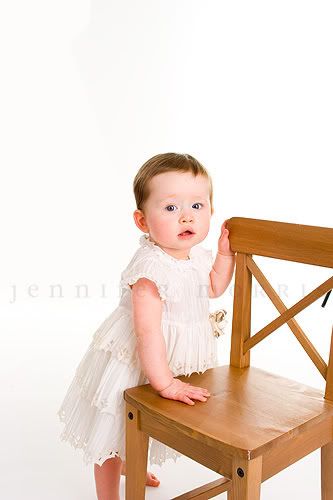
And a quick crop to better position her within the frame and eliminate the "chopped limb" thing going on with her foot. Aah, that's better, and ready to show the client.
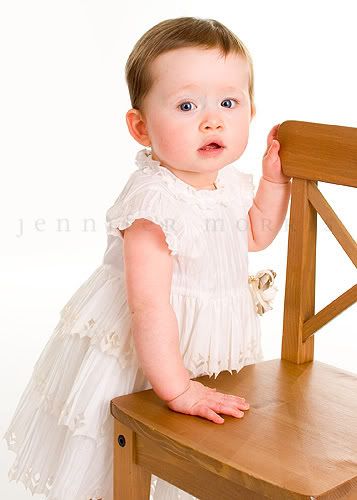
A quick side-by-side of the original and the edited file:
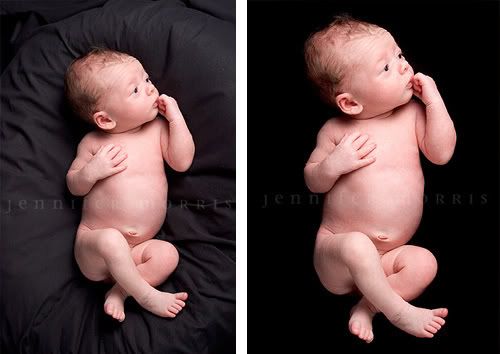
Now onto an image on a black background. Here is the picture straight out of camera with no edits:
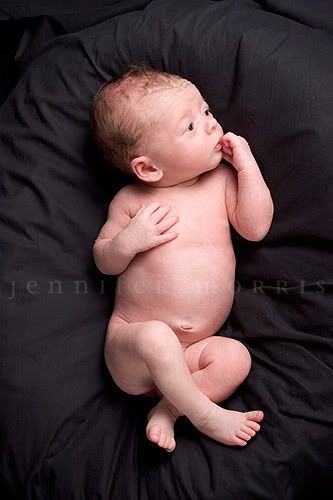
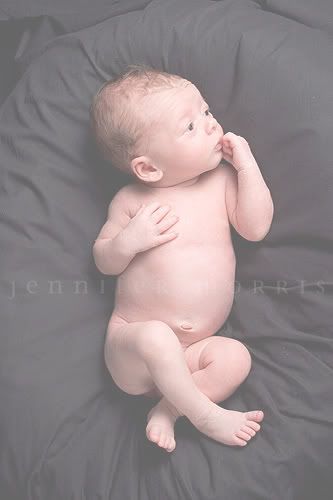
Hmm, the wrinkly backdrop draped over my beanbag isn't exactly the effect I was going for. So I'll use my burn tool, set to burn shadows only so it doesn't affect the baby's skin, and start burning them darker. But I want to be sure that the background is pure black - even if it looks pure black on my monitor, some wrinkles might still show on someone else's (laptop monitors especially.) So what I'll do is create a new layer and fill it with white, then drop that layer opacity down to 40% - this will reveal any and all wrinkles in the black backdrop so that I don't miss any.
Here you can see the effect this 40% sheer white layer has:
I just create the white layer straight away before I start burning - I've made a little action for it. Here you can see where I've started burning the black at the bottom:
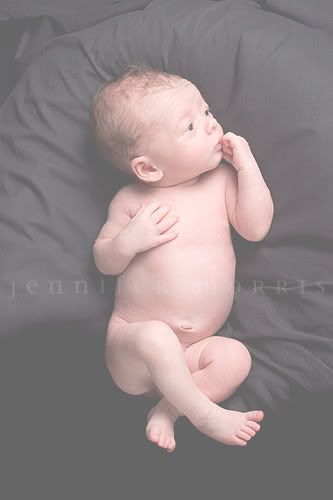
Once I've finished burning I delete the white layer. A simple boost of contrast in Levels or Curves, and maybe a touch of saturation and a quick crop and the image is ready to show.
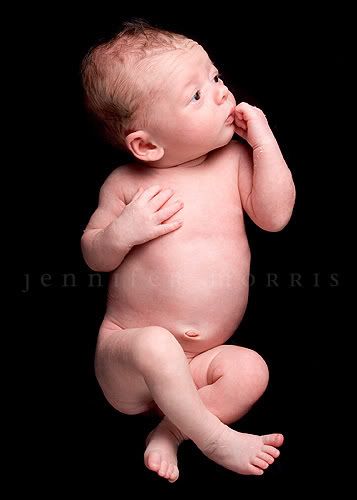
A quick side-by-side of the original and the edited file:
