
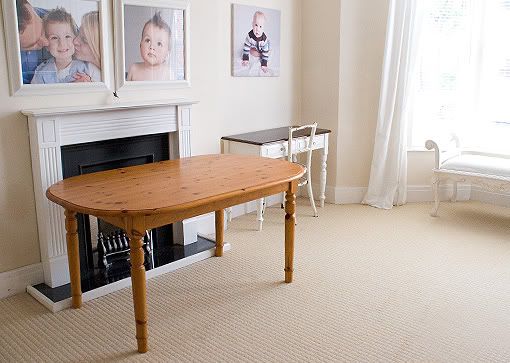
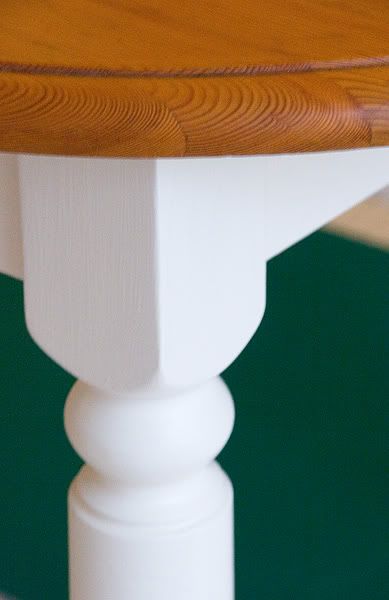
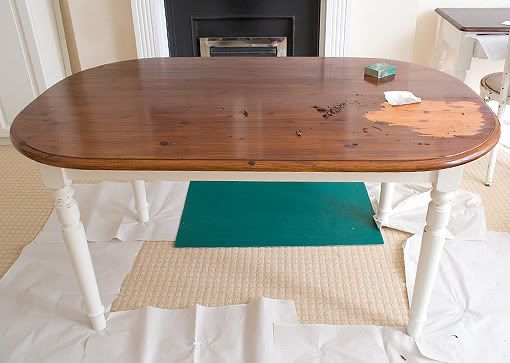
Remember this table that I recently bought *from eBay? Grant and I went to pick it up last week. I gave the seller £2 because I felt tight giving her 99p; she didn't seem bothered and just wanted it gone as she was about to move home.
We brought the dismantled table home and I set about bolting the legs on. Lo and behold, the seller had given us the wrong hardware! She'd given us long, skinny bolts and weird nuts from another piece of furniture. I tried to phone her (no answer, no reply to my message) and contact her through email (no reply). Eventually I took a table leg down to the hardware store to buy new bolts.
Well, wouldn't you know, the bolt holes would accept an M8 diameter bolt, but only a short way in and then they stuck. I was told that the threads on the bolts in the store were metric and the threads in the bolt holes in my table legs were imperial. No match.
I went to a big chain DIY store and tried there - same story, no imperial threaded bolts ("You're screwed," said the store assistant.) So I decided to buy slightly longer bolts than needed, and some nuts and insert the bolts as far as they would go, jamming them in, and then tighten the nuts.
All went well and Grant and I attached the table legs firmly.
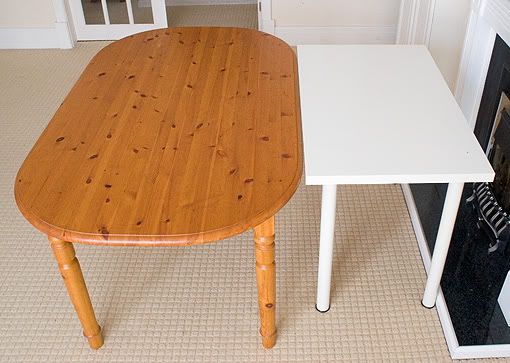
Here is the small, ugly white Ikea table that I was using for scrapbooking:
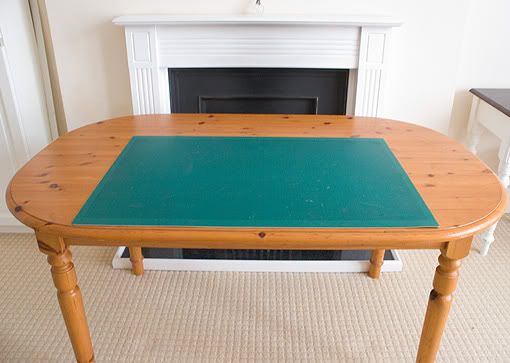
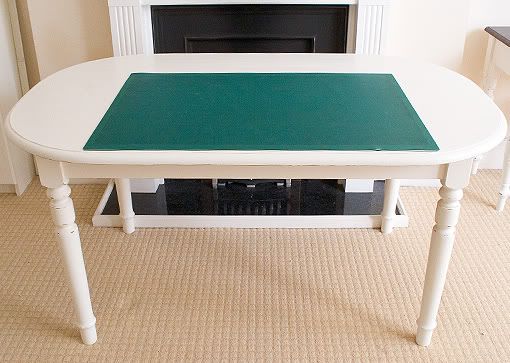
Here it is with my lovely big 2-foot by 3-foot cutting mat on it:
Size comparison:
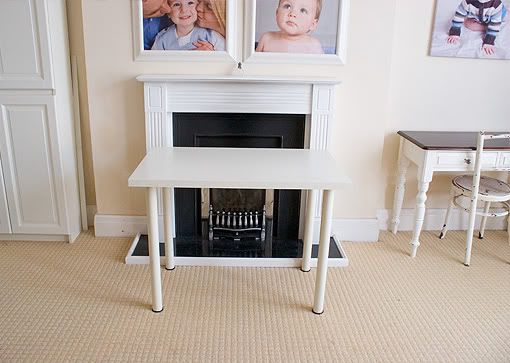
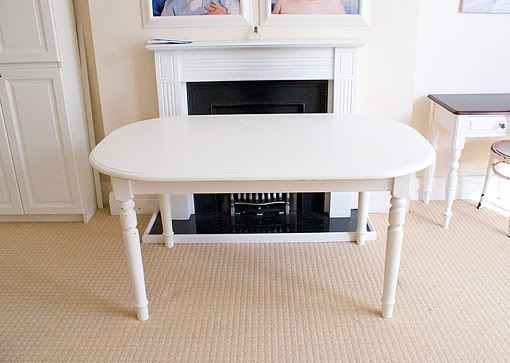
New table in place:

I knew from when I refinished the desk that I'd need to prime the legs, paint four coats of paint on them, distress them and paint 3-4 coats of varnish on the top. Easy peasy, right? WRONG!
It started well enough. I primed the legs using this primer:
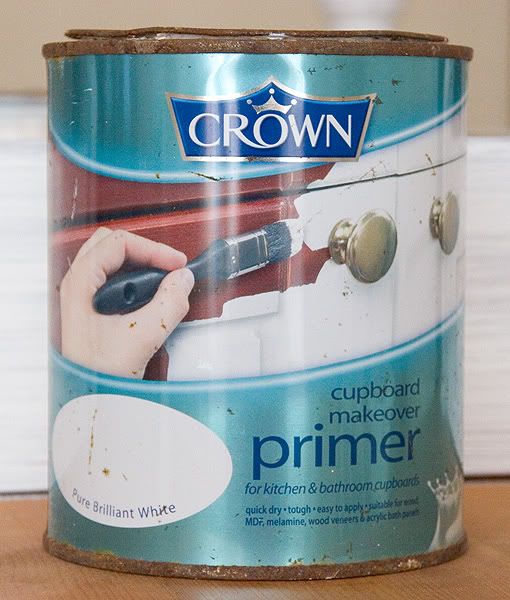
I love it because it's designed to make paint stick to melamine cupboards, and if it can do that it can make paint stick to just about anything. I never bother with sanding first.
No need to be tidy, nobody sees the underside of the tabletop:
All primed and ready for some paint:
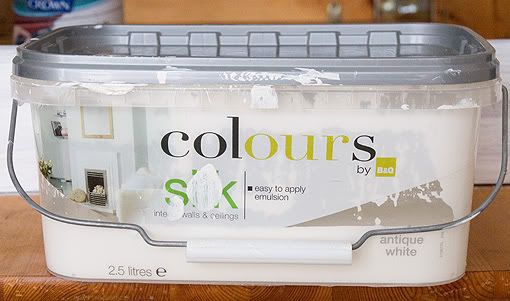
I just use what I have, which happens to be this paint - silk finish emulsion for walls in antique white:
Ta-da! Four coats of paint later; before varnishing and distressing:
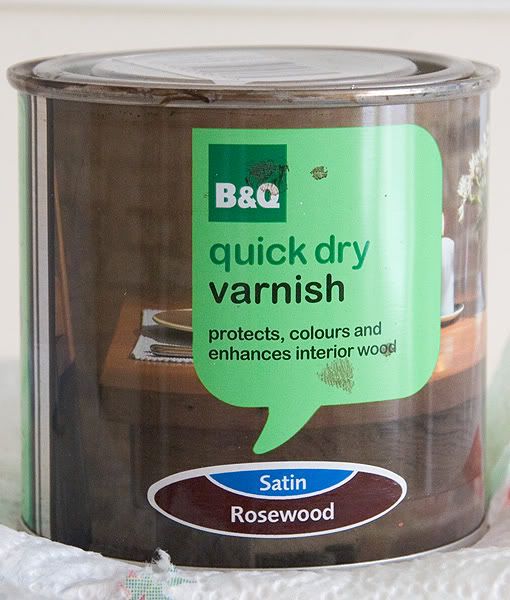
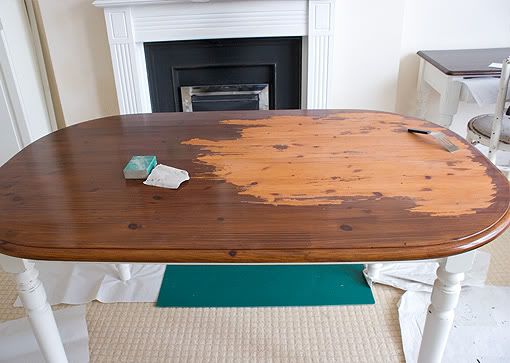
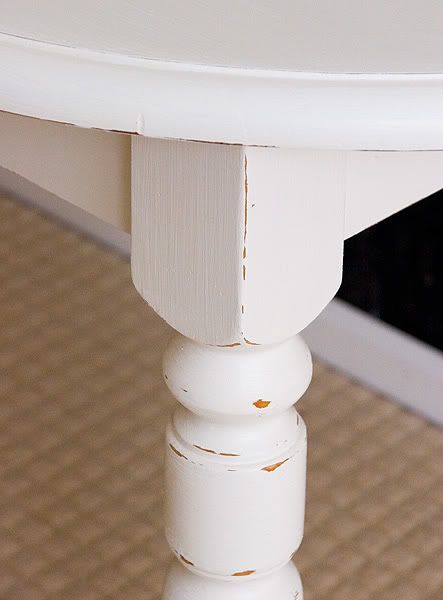
I distressed the legs with some sandpaper, then I whipped out the little can of varnish. There was half a can left over from doing the desk. Hmm. Probably not going to be enough, but let's get started.
I varnished the tabletop with two coats, letting it dry in between. The second coat was applied late at night before I went to bed. It would be properly dry and ready for the next layer by morning.
I woke up and got ready to start the day. Daniel and Noah were chattering about pictures they'd made, and then I spotted Noah's new clear vinyl pencil case:
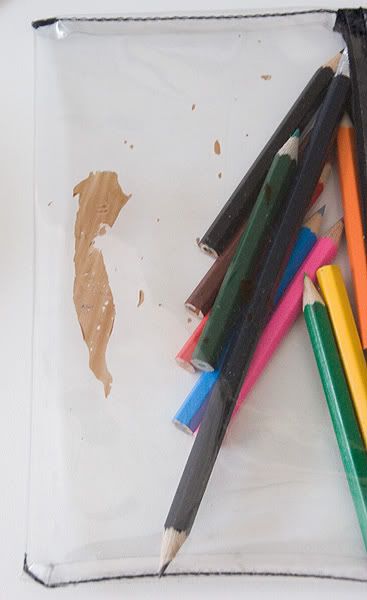
Do you see it? I knew instantly that it was varnish from the tabletop. I asked the boys where they had been drawing. You guessed it, on my new table. Never mind that there was the desk, computer desk, small white table and the kitchen table to draw on; they had to use my as-yet-unfinished table which was still standing on sheets of paper - clearly a work in progress.
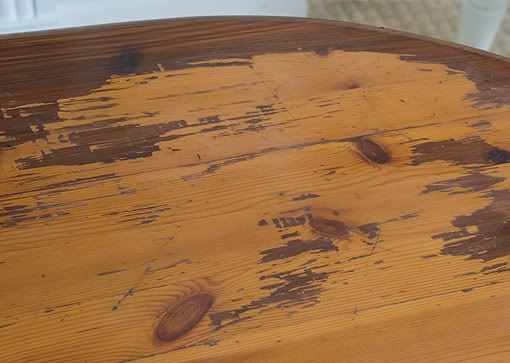
The smooth, slick pencil case had stuck to the dry-but-not-properly-cured varnish and peeled some of the varnish off.
Hyperventilating, I grabbed some sandpaper. "I'll just sand the edges smooth and try to patch over it with more varnish," I thought.
But when I went to sand the edges, the varnish just started peeling back.
I'd lightly sanded the tabletop before varnishing, but hadn't really created a rough surface. The tabletop varnished as a whole would be fine once cured, but once there was a hole it just wanted to peel.
So I thought fine, I'll just peel the whole top clear and start again. So I'd peel and scrape and peel and scrape ... and then parts would stick fast. So I'd think fine, I'll just sand the edges smooth and leave patches of the varnish and then when it's all smooth I'll paint the top white to match the legs. So I'd sand the edges but then bits would start to peel in places.
Rinse and repeat as necessary.
Oh, and throw in a tantrum or two. Mommy was NOT in a happy mood.
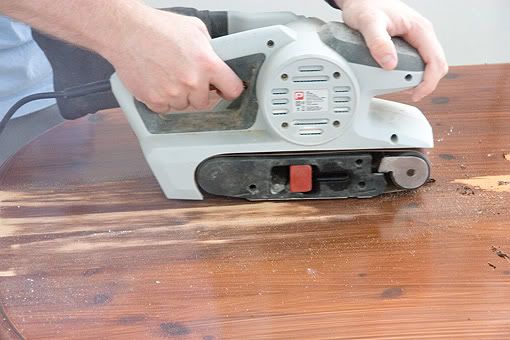
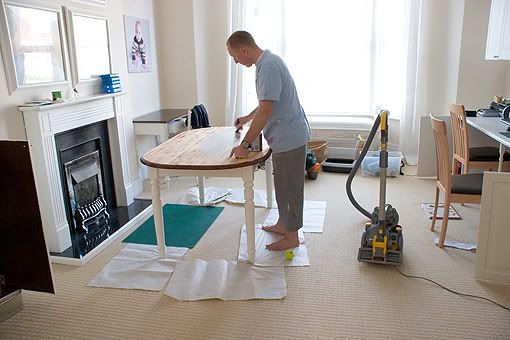
Grant woke up later (he'd been on night shift the night before) and I asked him to sand the whole top of the table with his belt sander. He did that for me ...
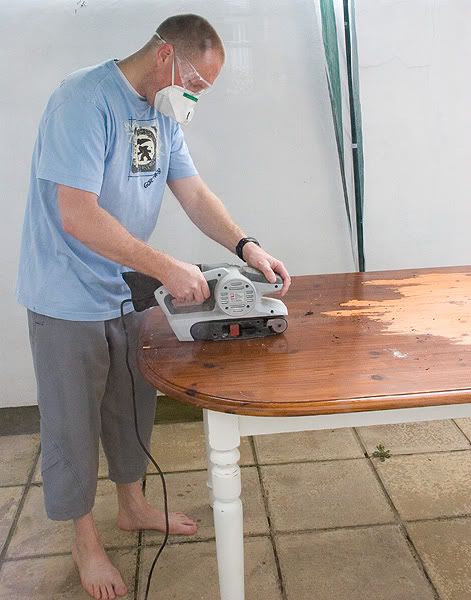
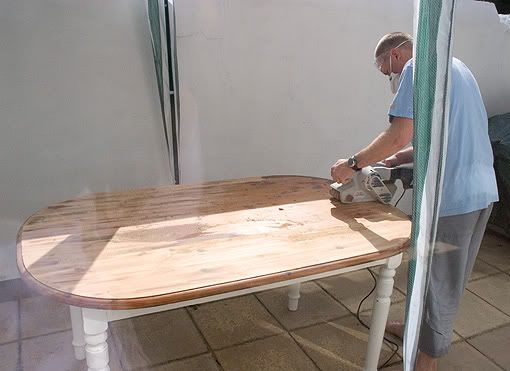
... and then painted the top with primer for me.
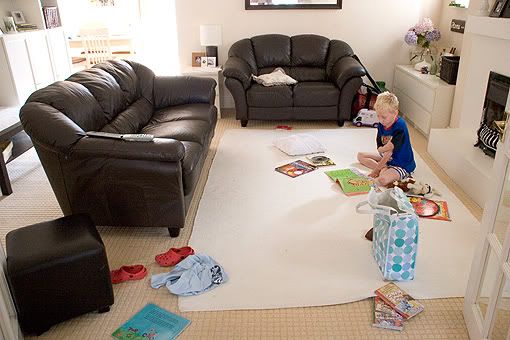
Oh, and in the spirit of keeping it real, the above picture shows what I'd typically display on my blog. I'd ducked slightly to hide the mess in the background. This is what it actually looked like when I first went to take the picture:
Here's the state of the studio from the opposite angle - stuff piled everywhere ready to be Freecycled, book lying on the floor, vacuum cleaner in the middle of nowhere:
Here's the state of the living room:
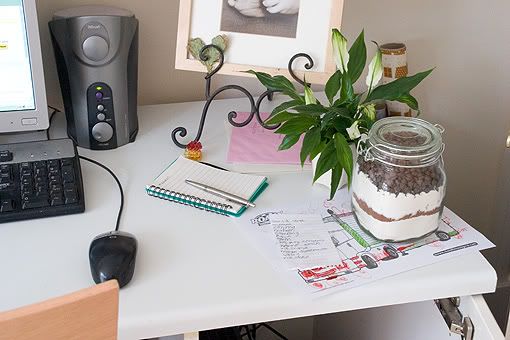
My messy desk - the brownie mix was for Daniel's teacher (I needed to put a tag and ribbon on), random hair clips lying around, birthday cards that need mailing, lists and Noah's colouring-in picture:
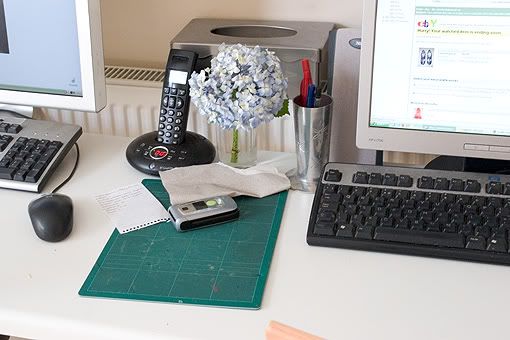
The centre - dying flower, more lists, my phone, sandpaper, small cutting mat:
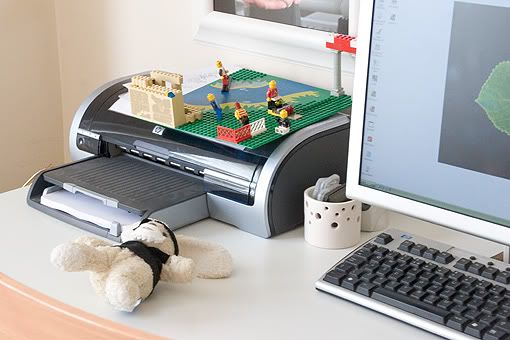
And more clutter - Daniel's stuffed rabbit and Lego creation:
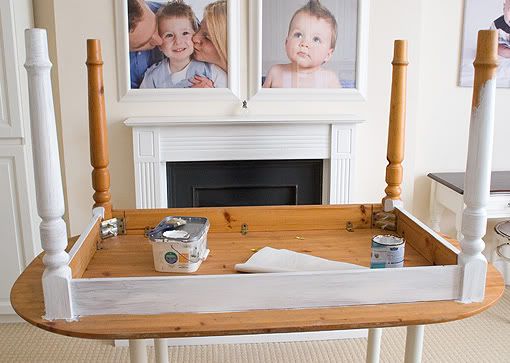
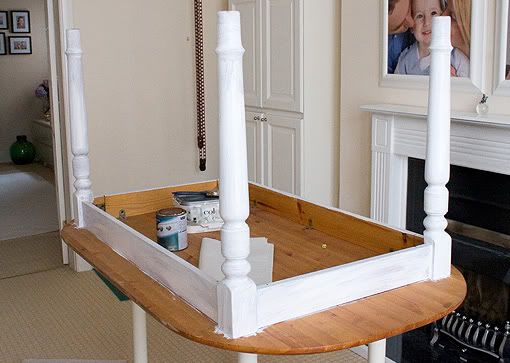
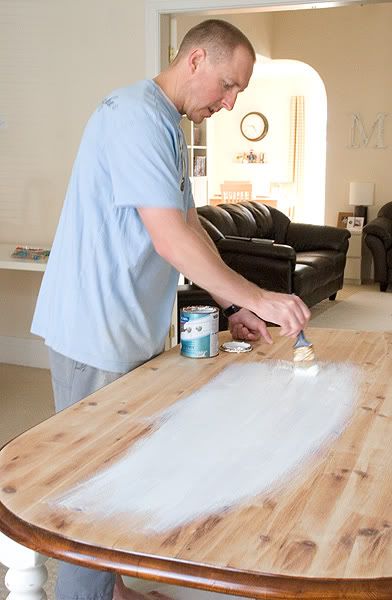
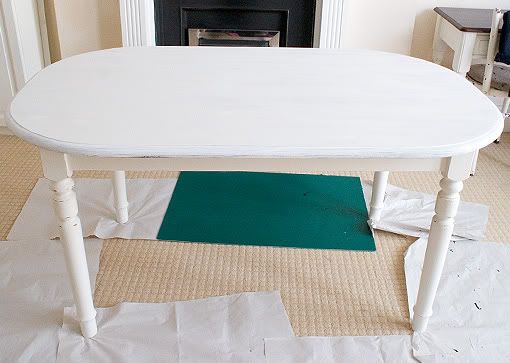
Anyhoo, here's the table with the top primed:
Now, I'm sure you're thinking, "Not far to go then, just a few coats of white paint and you're done."
You'd be mistaken. Because you're forgetting that nothing in my life is ever simple or straightforward.
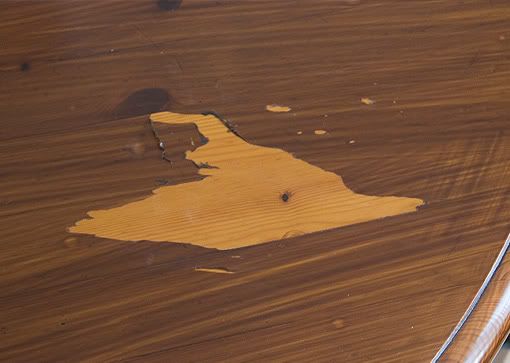
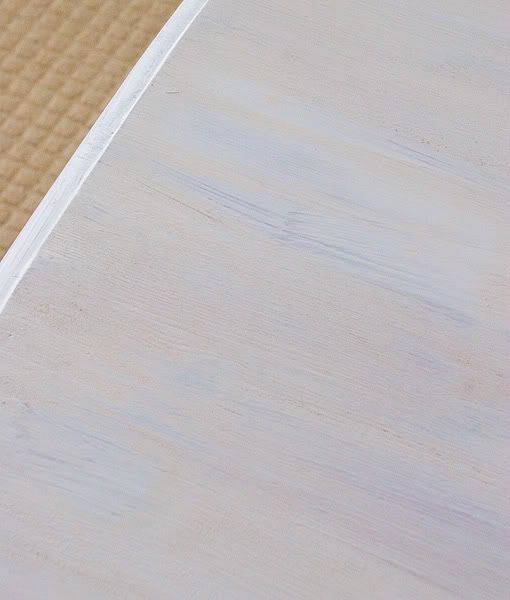
Because as the primer dried, the colour from the wood of the tabletop began to leach through:
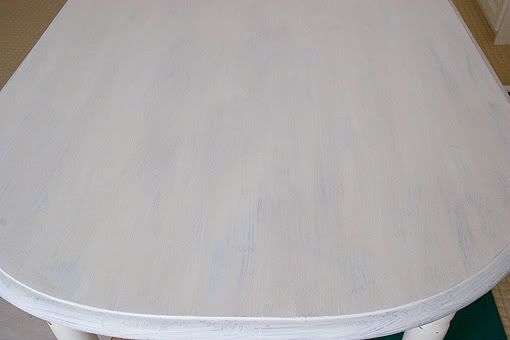
See those orange streaks?
Gritting my teeth, I took myself down to the cellar to get some of this:
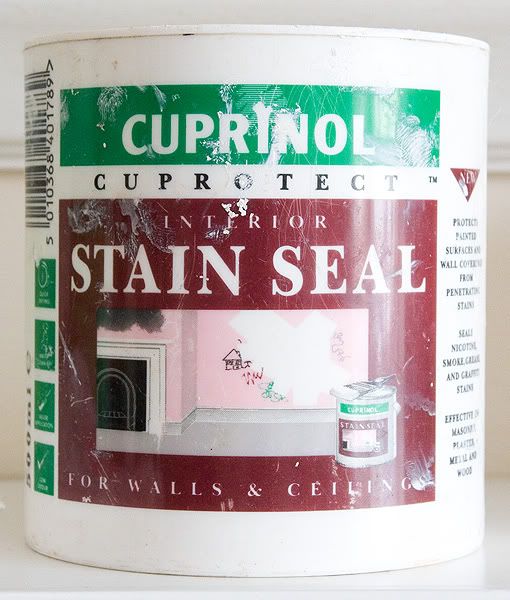
I know it says "for walls and ceilings" on the front, but the back says it's for wood too and is supposed to stop the tannins leaching colour through.
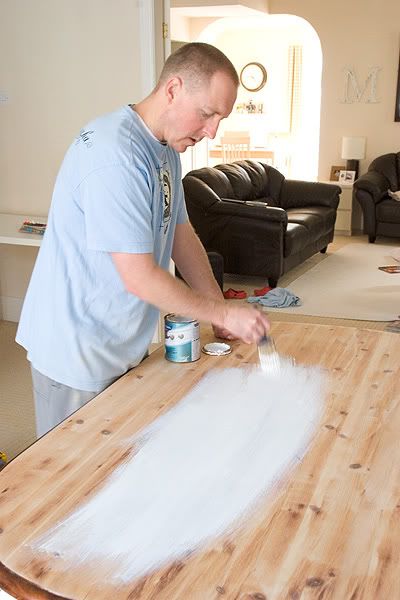
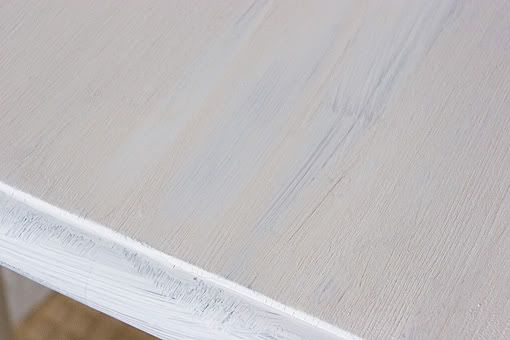
Fine, I slapped a coat on. And what do you know ... as it dried the colour started peeking through again!!
AAAAAARRRRGH!!!
By this point I've used four products and a third of my life on this blasted table. I just want to be done with it!
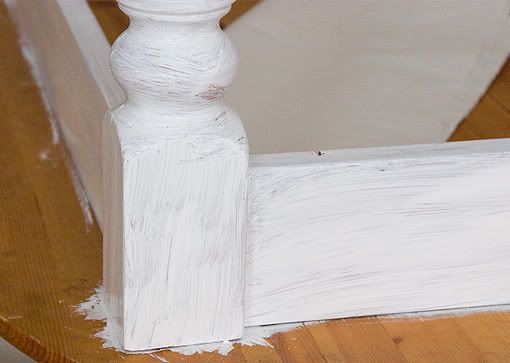
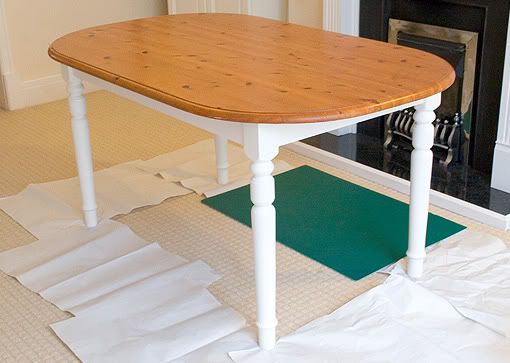
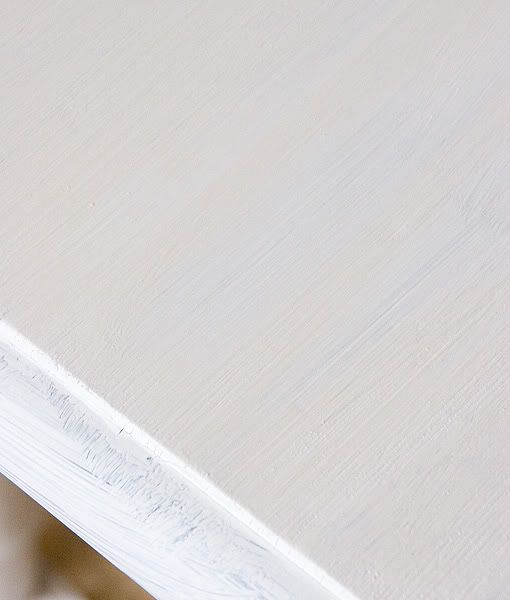
So I painted the top with one coat of the antique white paint (determined to view any more colour leaching as "part of the shabby chic vintage charm") and three coats of the paint around the rim. I distressed the edges with sandpaper and called it a day (or more like a week). Oh, and incidentally the orange colour didn't leach through the paint, strangely.
Now, I'm sure you thought this was the end of the story, right? Me too! Well, silly us. Because when I turned around in the middle of writing this post, what do you think I saw?
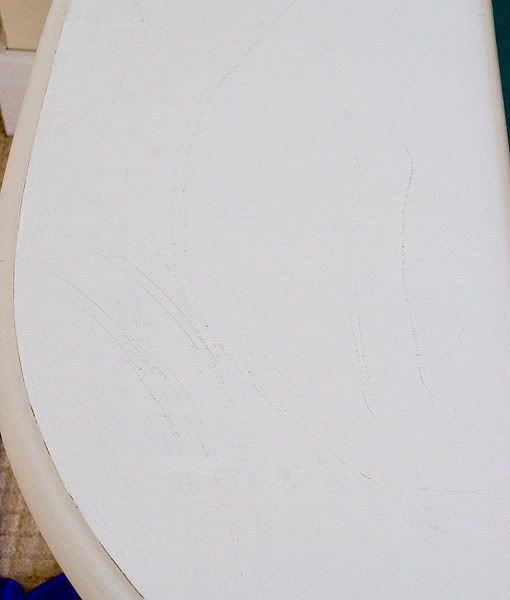
Noah has taken a toy and scratched grey marks all over the clean white top, all the way around my cutting mat.

GIVE ME STRENGTH!!!!!!!!!!!!!!!
*I never know if it's "bought through eBay", "bought from eBay", "bought off eBay" or "bought on eBay" - anyone? Help me out here!
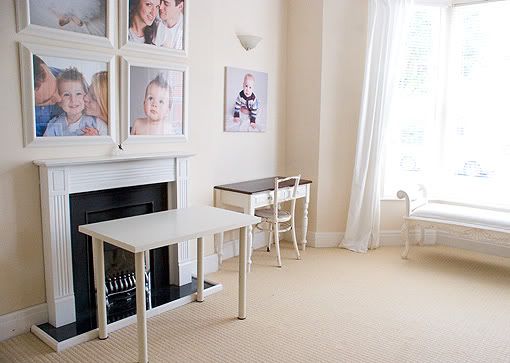
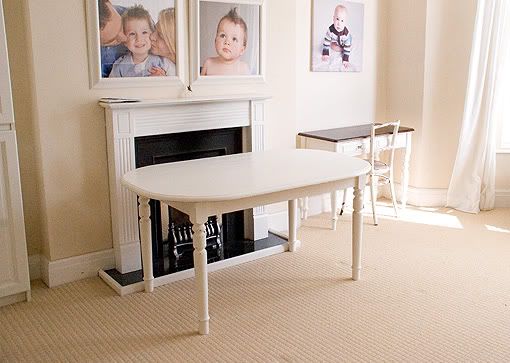
Oh, and P.S. Did you notice I still have client pictures up on the chimney breast? It's just creepy now that I no longer have my business. I really must take new photos to replace them with!