There are three parts to food photography:
1) the preparation / cooking / baking of the food to be photographed
2) food styling - making it look appetising and appealing
3) photographing the food (including editing and cropping of the photographs)
Of course, I do all of these steps myself because I am that awesome :) In the publishing world, however, you'd have experts cooking the food, stylists arranging the food and all the photographer would do would be the actual photography.
I have to stress that I am an amateur food photographer, self-taught, and don't claim to know everything (or hardly anything at all) but this is just what I've learnt and the way I go about photographing food.
I'm only going to be covering step 3: photographing the food. In fact, for this demonstration I chose not to really style the food at all - in this case chocolate waffles.
This is the standard standing-in-front-of-the-food shot with my camera set on auto with the flash employed:
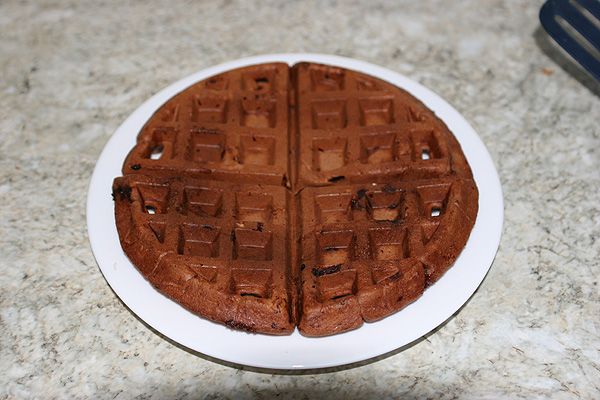
Mmm, tasty! NOT. It looks like waffled dog poop. Time to use the first tip:
Turn off your flash and use natural light
For portraits you're usually wanting the light to hit your subject from the front or side. For food you want the light to hit the dish from the back or side. I've shown you here how I photograph with the light coming from the side but usually I like to use this piece of counter with the light coming at the food from the window behind it.
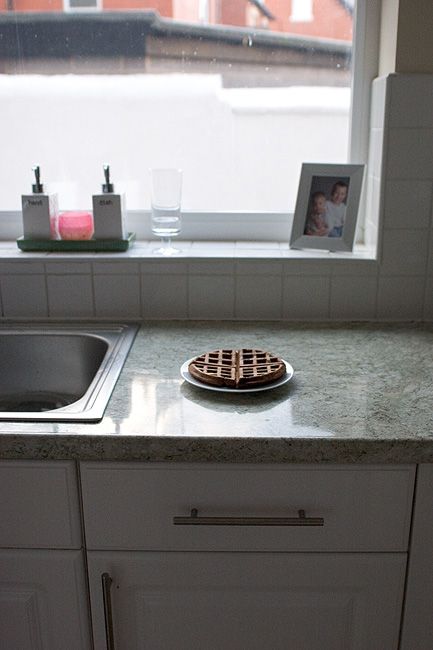
This is the same standing-in-front-of-the-food shot with flash turned off the natural light coming from behind:
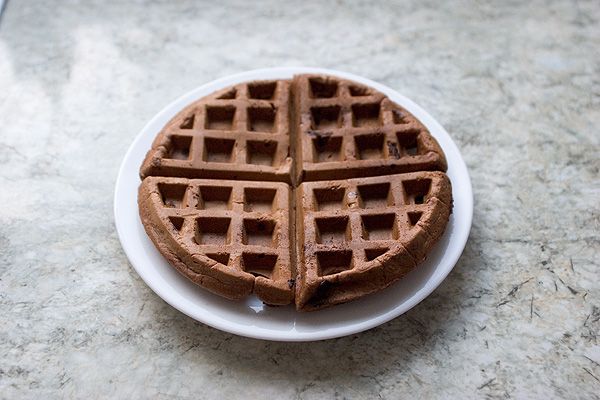
Already better! The texture and colour show up better. But it's still kind of boring and of course I don't want the same counter top to appear as the background to every shot of food that I take.
Time to get out some scrapbooking paper.

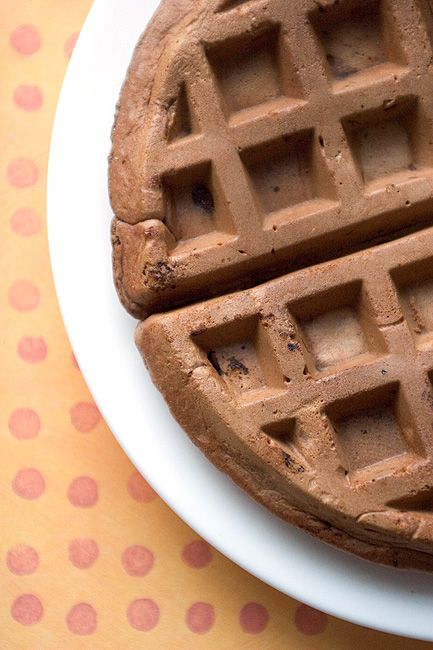
First up, I tried the orange paper. The warm colours looked nice against the brown waffle when I held them together, but I didn't like the way they photographed. The dots compete with the grid texture of the waffle.
Please note that from here on out I employ the second tip:
Get in close. Now get in closer.
Moving onto the blue patterned paper - I liked this one better.

Third tip: shoot from different angles. Go high, go low. Try it all.

Hmm, let's try the green paisley paper and tip number four: shoot vertically as well as horizontally.


I decided I wanted a little more texture in the background. The beauty of photographing food is that it's generally small and can be placed on top of paper, fabric, even an item of clothing. I've photographed a pudding on top of a skirt before. I decided to try a chenille throw:
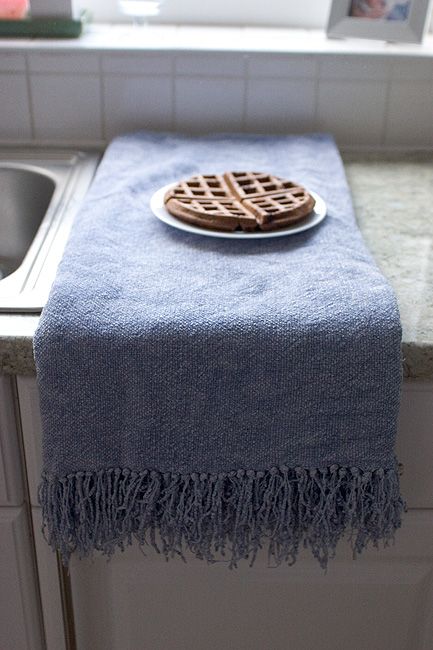
Ooh, I'm loving the colours together and that texture is perfect!


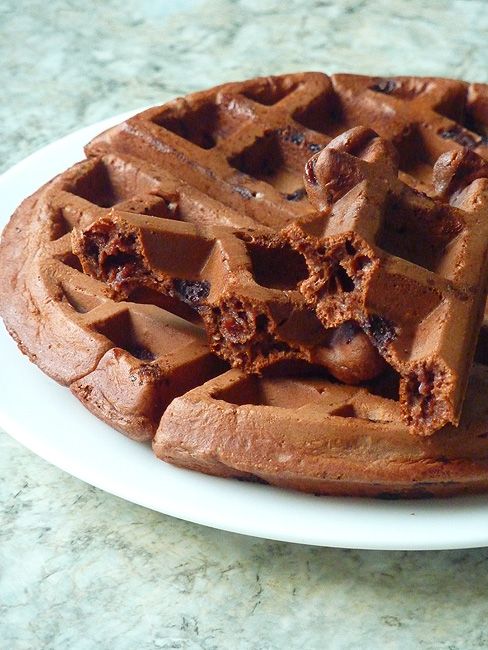
I decided to try one more thing; let's call it the fifth tip: mess with the food. Try scooping a spoonful of the pudding and resting the spoon on the plate; try crumbling a piece of the cake; try slicing apart the loaf; try tearing apart the waffle. This reveals more of the texture of the food and highlights any hidden details like chocolate chips.


I still haven't decided which picture to use next to this recipe in my e-book, but I now have a bunch to choose from that are way more appealing than this shot:

And because I wanted to prove a point, here are some photographs I took with my point-and-shoot camera. First, the standard with-flash shot:
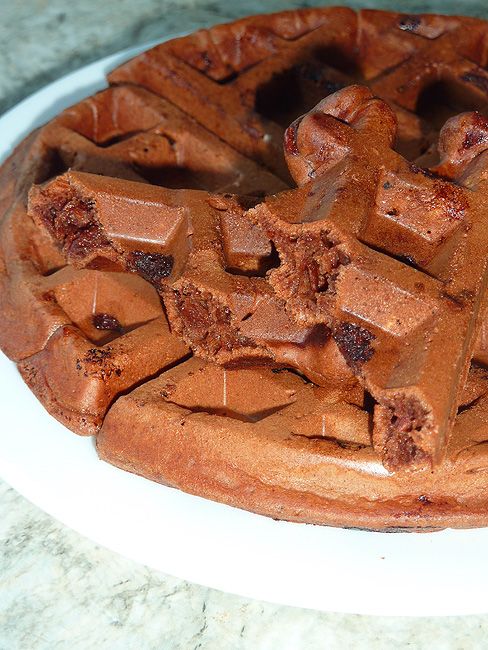
And then with the flash turned off and the light coming from behind and slightly to the side:
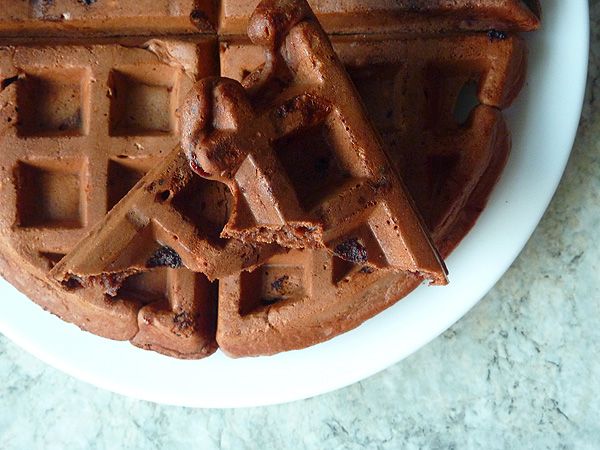
Now go forth and play with your food! I'd love to see your experimentation if you want to share the shots with me. Have fun with it - and enjoy eating the stars of your photoshoot.
If you're interested, I'll do a separate post on the things I've learnt about food styling.
