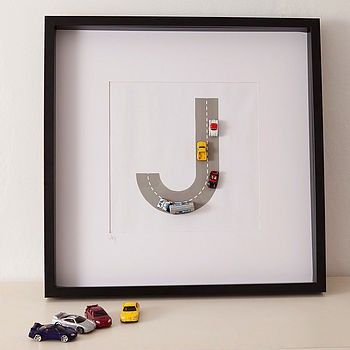
I loved the idea and wanted to do something similar for Noah's room, but I knew right away I didn't want a framed piece - I wanted a big road to stick directly to his wall.
This was way back before we emigrated, or even knew when we would be leaving. Still, I knew I'd eventually make it, and I went and bought the tiny cars.
Finally we got to NZ, our stuff arrived and I'd unpacked my glue gun and craft mat and other odds and ends and I was ready to make Noah's road art.
I had planned to make it out of wood but then I realised I have a garage full of double-wall cardboard boxes that I could use.
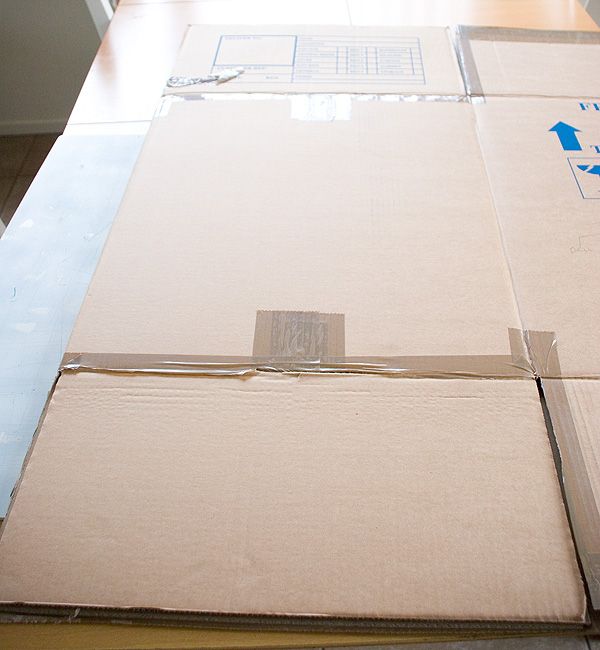
I cut a side of a box and decided how wide I wanted the road to be, then drew a big N on the cardboard.
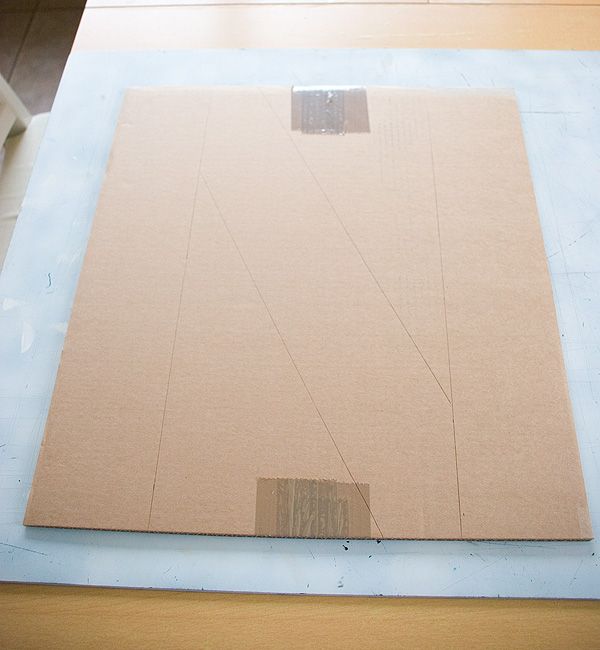
I used a metal ruler and craft blade to cut it out (thank goodness his initial has straight lines and isn't something like S or B!)
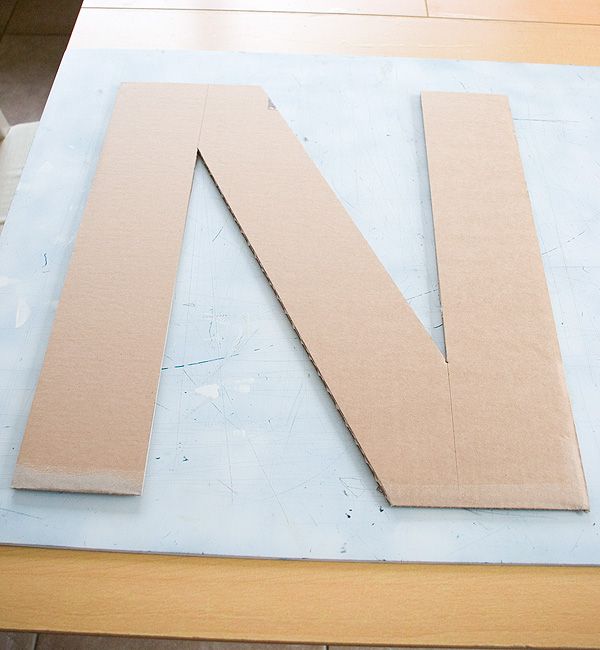
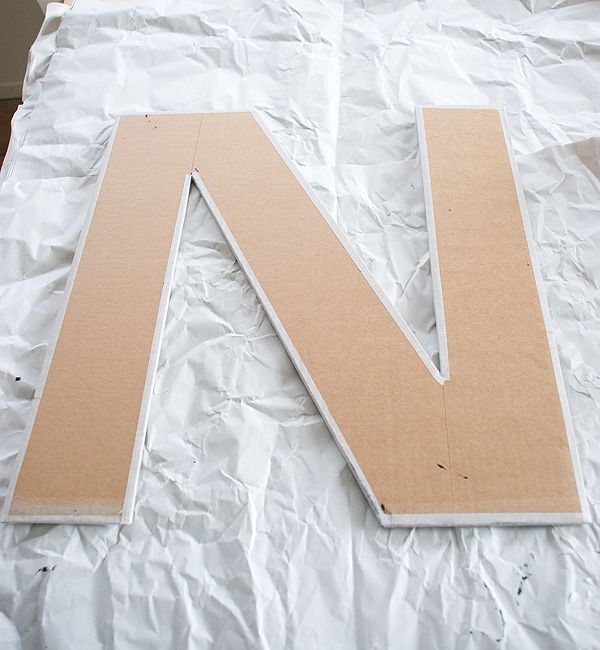
Uh oh, those edges don't look too great:
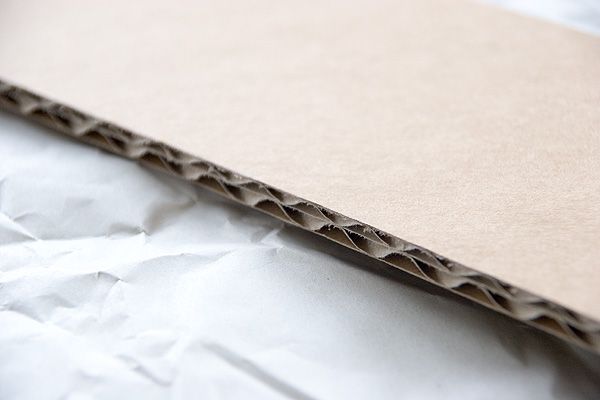
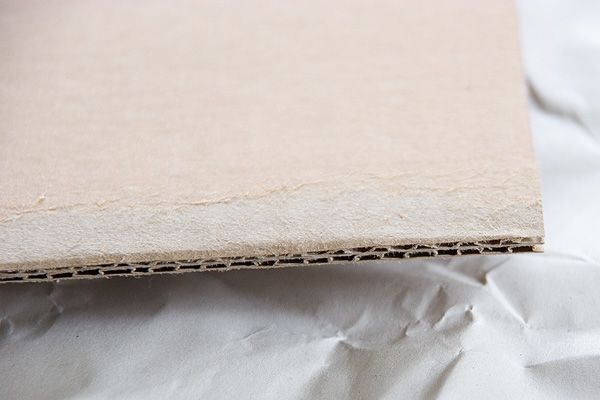
Nothing a little masking tape can't fix.
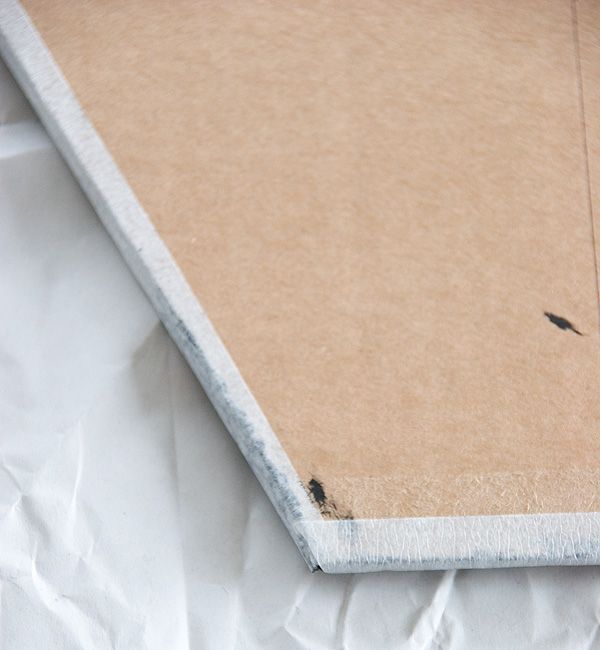
How it looked from the front:
And the back:
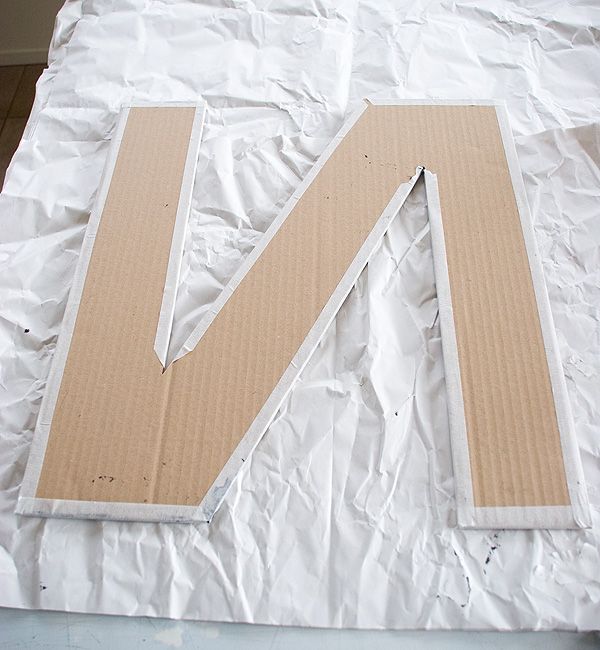
(I do want to mention here that although the paint seems to have helped the masking tape to stay stuck on the front, the tape started lifting at the back. I simply taped it down with regular clear tape.)
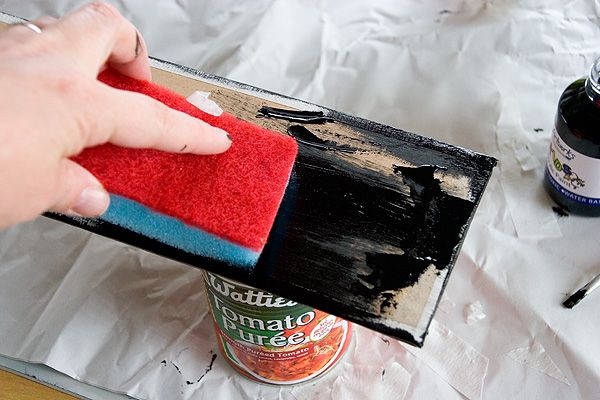
Okay, next step - paint it black with acrylic paint. My preferred method is to use a small brush to do the sides and a cheap (new) kitchen sponge to swipe the paint onto the front.
Painted and waiting to dry. I always stand painted items on food cans, it helps keep the edges from getting stuck onto the paper beneath.
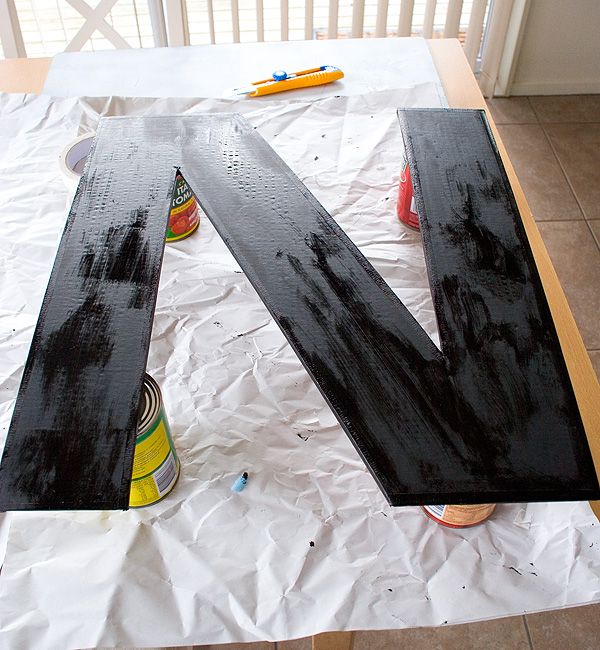
While the paint dried I took a sheet of small white labels ...
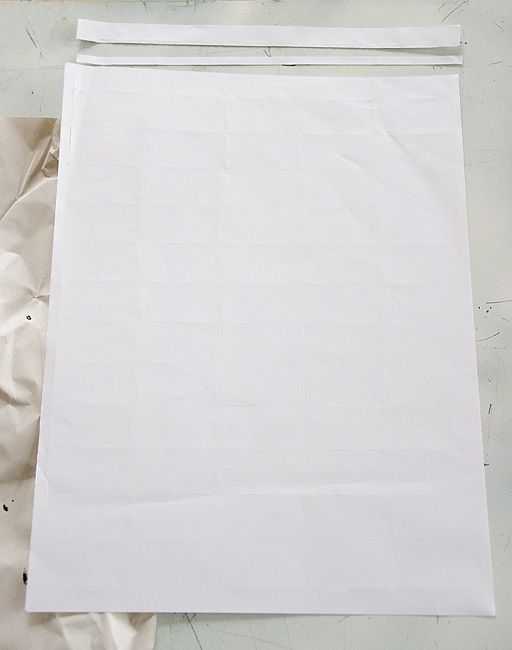
... and cut 5mm strips.
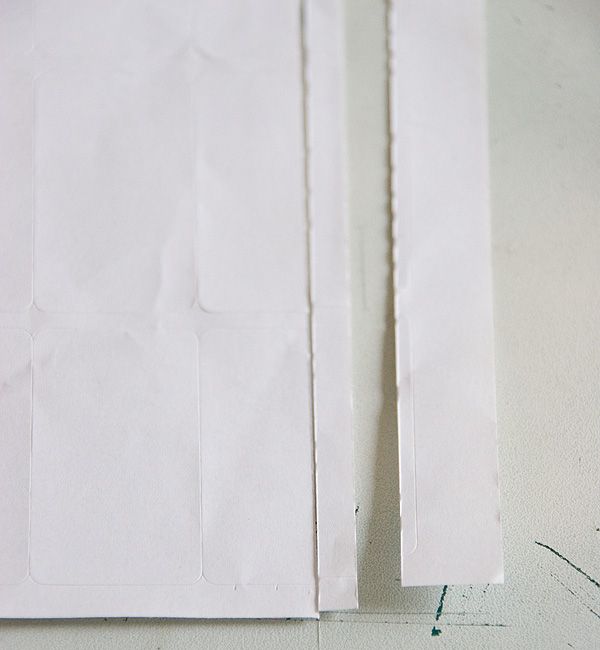
This created little rectangles that I could stick on the road to make the central lines:
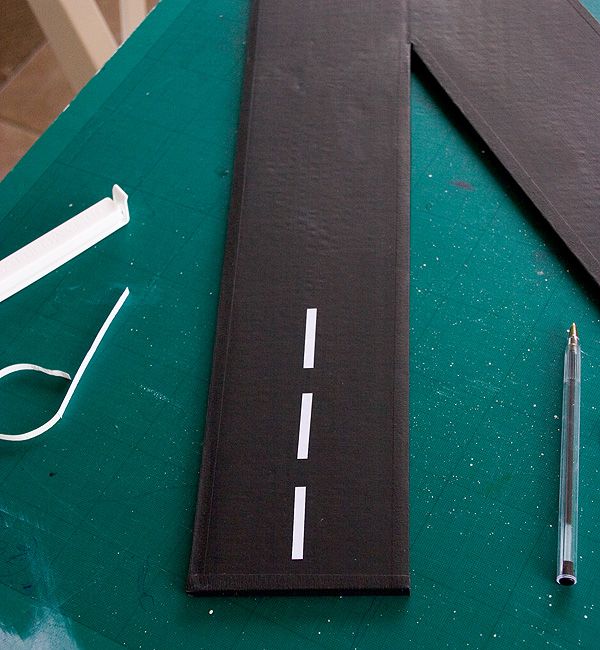
I measured the centre of the road, made little marks with a pen and then used a bag clip to space the lines from each other, while I lined the sticker up with the centre and stuck it down.
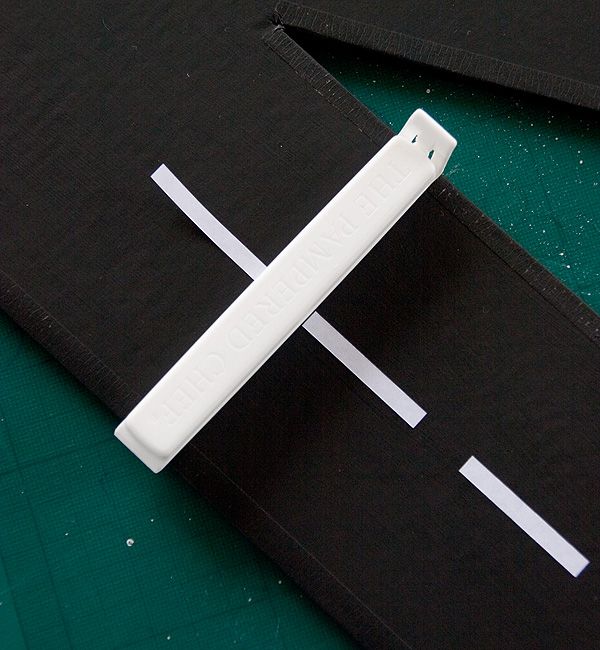
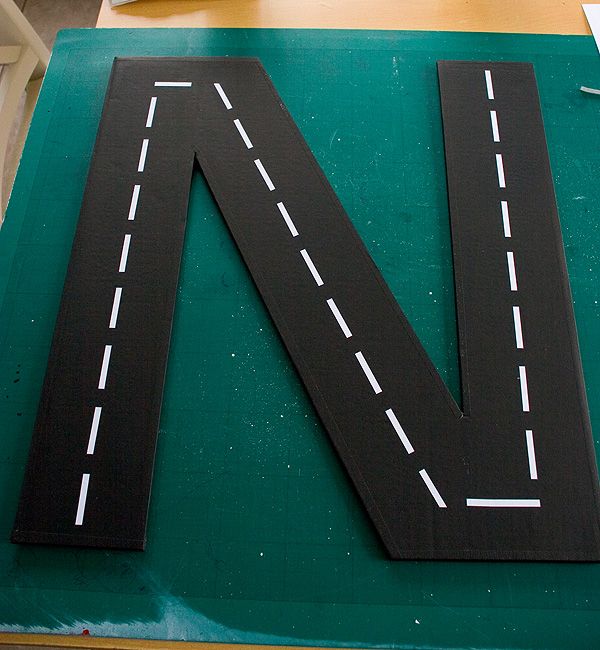
Ta-da, a complete road. All it needed was some cars.
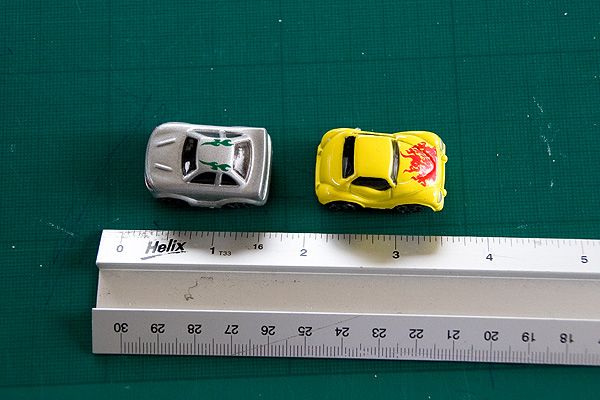
The cars were from B&M and were 99p for a 4-pack. They are so cute!
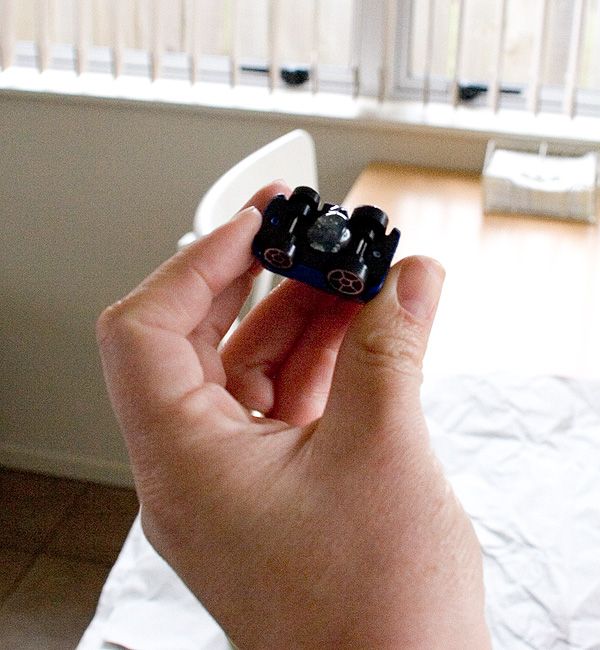
After deciding where each car would be placed on the road I put a blob of hot glue underneath ...
... then stuck them onto the road.
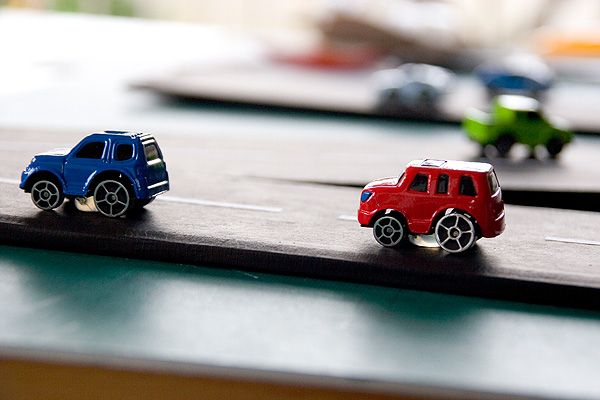
And here is the finished road! Actually it's changed since this picture was taken: Noah pointed out that the centre silver car was going the wrong direction (oops!) so I've corrected that; and he was obsessed with the yellow car so I switched it with another that he had in his collection.
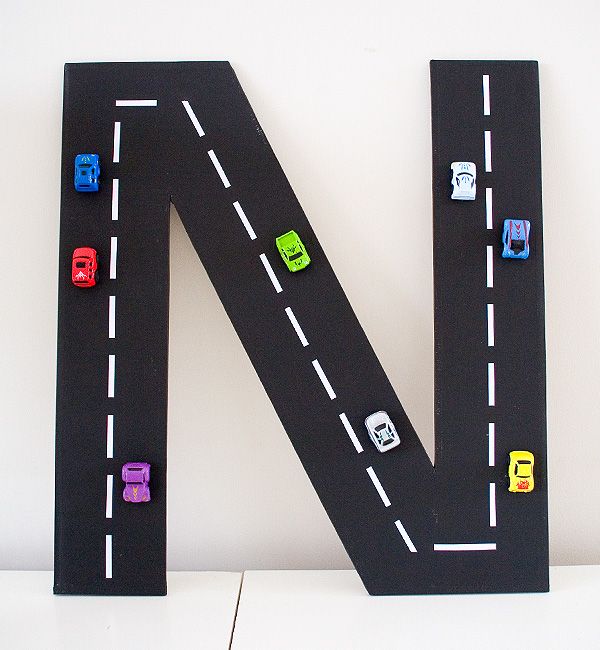
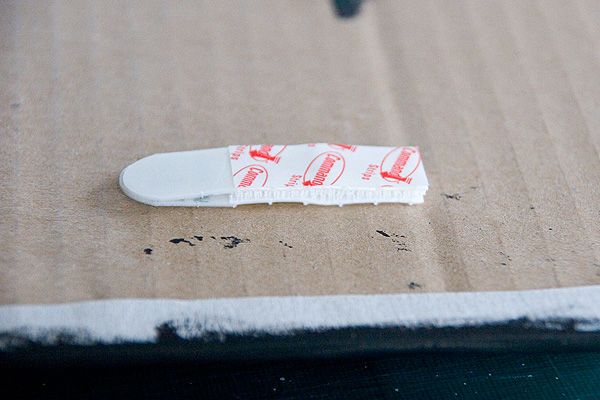
Now all I have to do it hang it on his wall with these little clean release velcro strips.
