In the video I talk about "debossing / embossing" - technically, an embossed design is a raised design. You can create embossed fondant with special embossing rollers and mats. So technically what I make are debossed designs - the design is imprinted into the fondant. Some people (including myself) still refer to them as embossed designs.
So here is the video. (For my newer readers, I am originally from South Africa but spent the last 11 years in the UK so my accent is a bit messed up. Give me another few years here in New Zealand and it will be even more of a mess!)
Some things not covered in the video included the following:
How I store the decorations
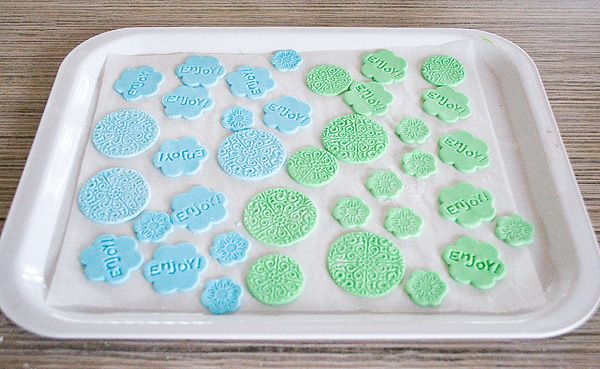
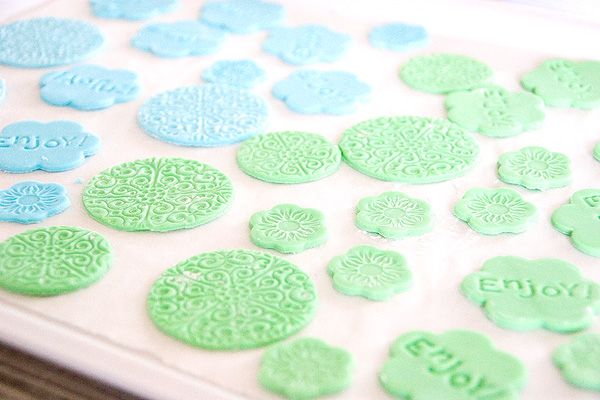
Before I start making the decorations I line a dollar-store plastic tray (I have several) with non-stick baking paper. As I cut the decorations I place them on the tray to dry. I put them on a bookcase with a clean tea-towel or sheet of paper over them.
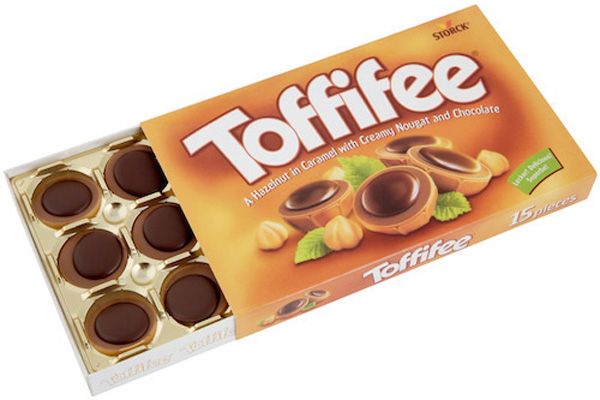
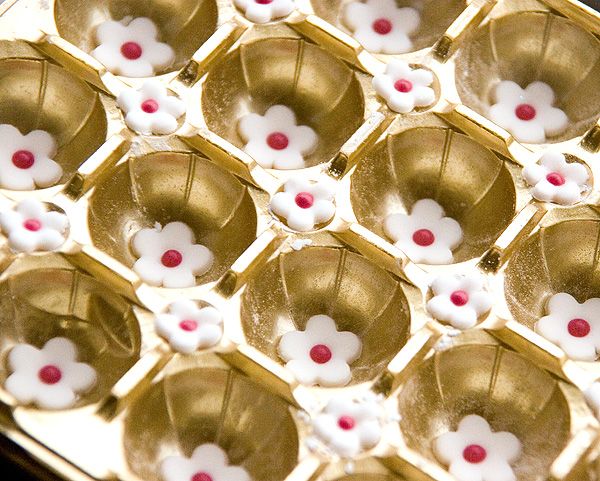
In Europe you can buy this delicious candy called Toffifee. It comes in a box with gold plastic inserts that the sweets sit in.
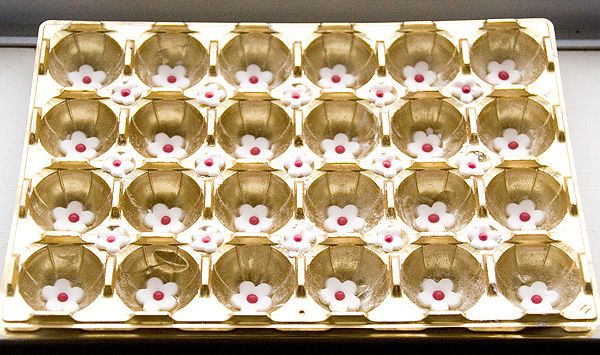
The plastic inserts are absolutely perfect for drying fondant flowers. The curve helps the flowers to dry with raised petals. (These flowers have already had the royal icing centres added.)
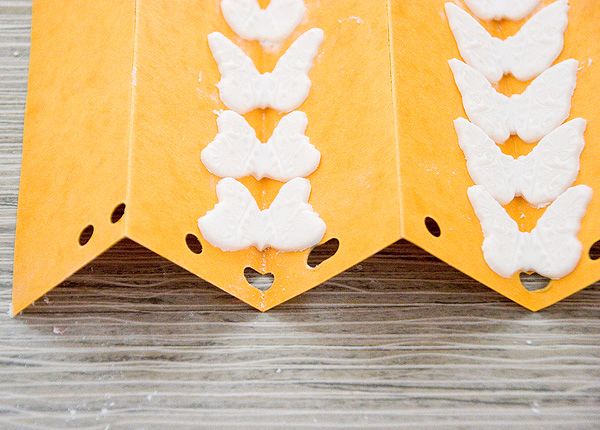
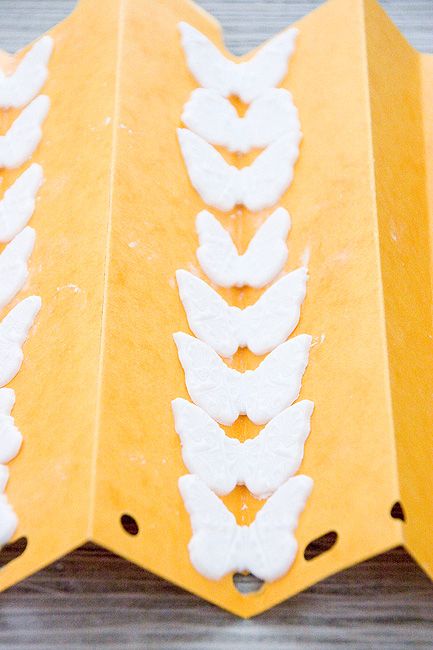
Recap of debossing / embossing fondant and how I dry butterflies
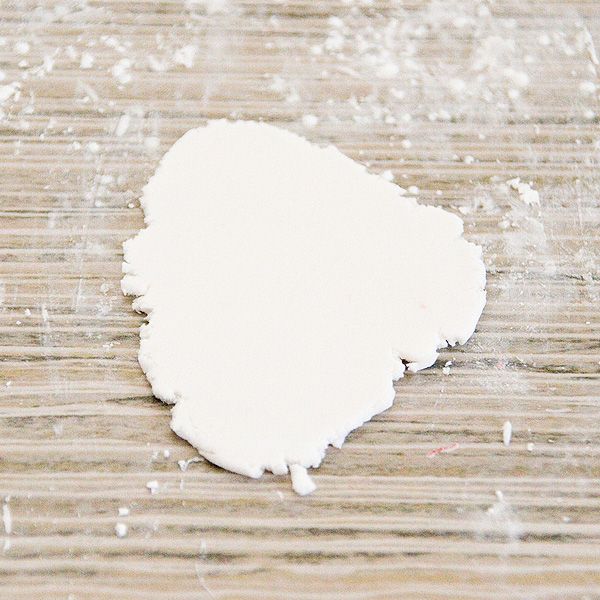
Roll the fondant out:
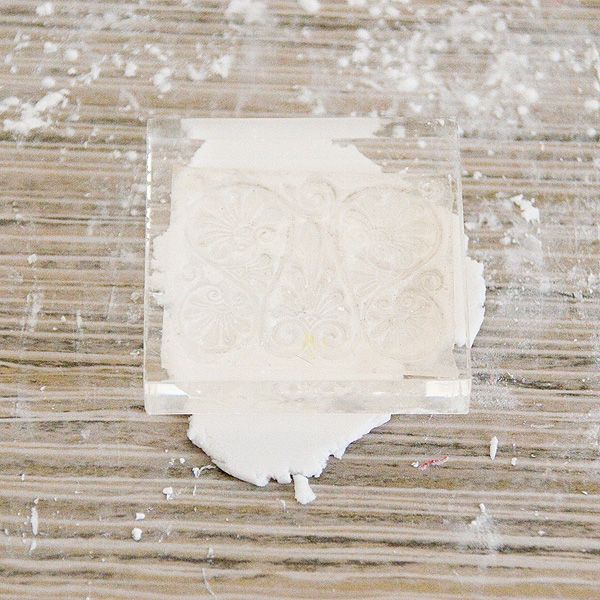
Use a clean craft stamp to make an impression:
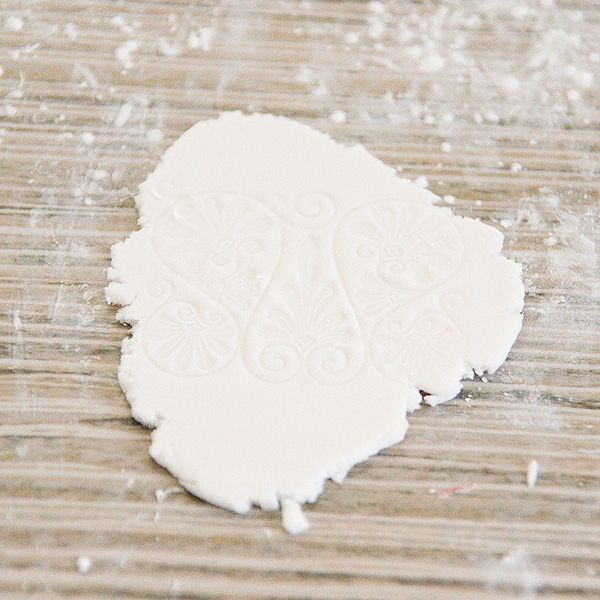
Line your cutter up over the impression and cut the shape out:
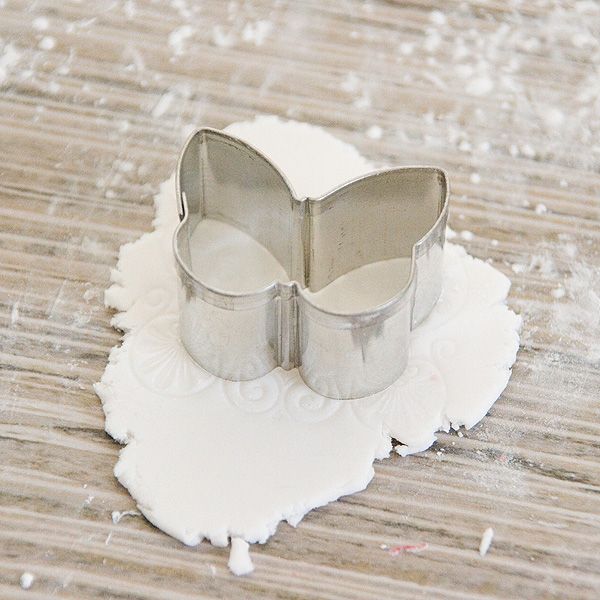
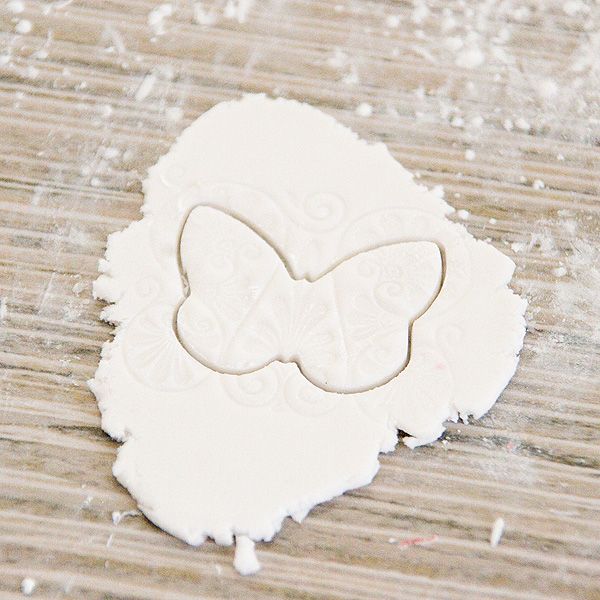
Place butterflies to dry on a piece of card that you've folded into pleats. This ensures that they dry with raised wings:
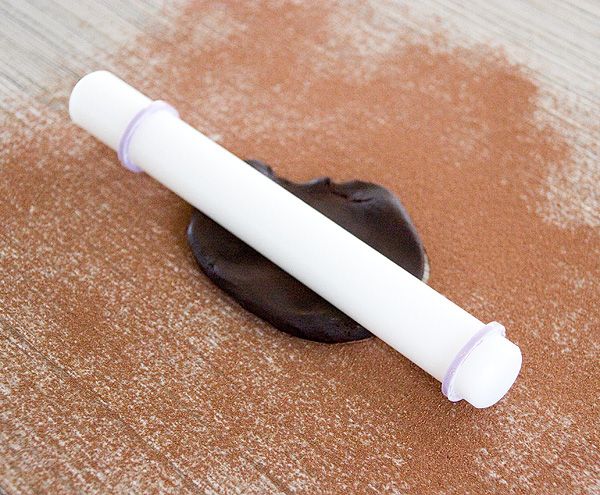
Working with chocolate or dark coloured fondant
Instead of using cornstarch or icing sugar (and yes, cornstarch does work better!) I dust the work surface with cocoa:
If you have any questions please don't hesitate to ask and I'll try to answer them in another post and / or with another video. I hope this post was helpful!

