Mags, you're not to stupid for Instagram, I promise :) I'm hardly an expert but here is a little guide anyway.
For those who do not know, Instagram is kind of like Twitter but with photos. You can take a snap of any litlte detail or happening and share it with a short comment. Other people can subscribe to you and see your photos, and you can subscribe to other people to see theirs.
First, you do need a smartphone. I have an iPhone 3GS. You will also need an internet connection. I don't have roaming data so when I Instagram it's at home with wifi. I can still take photos when I'm out and about, I just can't post them until I get home.
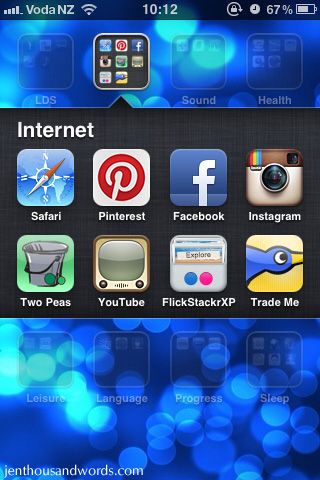
Here are my internet apps that I use - you can see what the Instagram app icon looks like:
I honestly can't remember what the sign-in process was like but I'm sure it was quick and easy or I would remember ;) When you're signed in you will see your feed. I took this screenshot after I had uploaded a picture of the boys reading, so my own photo was first in my feed:

Your feed consists of the people you follow. Swipe your screen to scroll down and see everyone's photos and comments. You can also Like other people's photos or leave comments on them. As you can see in the pic above there are Like and Comment buttons beneath each photo.
At the bottom of the screen you can see a row of buttons - a house, star, camera, heart in speech bubble, and screen.

The first one, shaped like a house, is your feeds as discussed above. It's the place you go to check out photos fo the people you follow. The second one, shaped like a star, takes you to this screen:
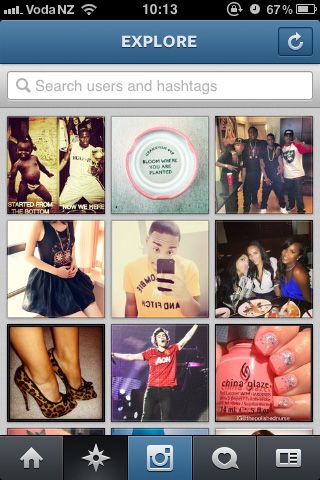
This is a sample of other people's pictures and you can check them out if you want. Or just use the search box to search for particular people that you want to follow (you will need their username) or for hashtags.
If, for example, you are hosting a baby shower and want your guests to tag the photos they take at the shower so that you can find them later, ask them to hashtag their pictures with a particular tag, for example #lisababyshower. Then in Instagram, on this screen, you can search for that hashtag and your guests' photos should appear. Some users' hashtag exapmles are #nofilter when they upload photos as is without a filter applied, or #ootd for photos of their outfit of the day. If you know what you are looking for you can explore those particular photos by searching for the hashtag and see pics from random users around the world.
I don't generally use hashtags, and some people use them to add little funny or snarky comments.
Okay, on to the icon shaped like a speech bubble with a heart in it (we'll come back to the camera). Tapping it will take you to this screen:
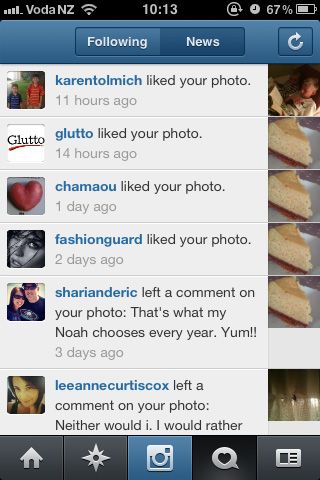
This is where you will see comments and likes on your own photos. You can then check out the users who commented / liked by clicking on their username, or reply to their comments, or just bask in the love.
The last icon takes you to this screen:

This is your own profile page. It shows any details you enter, your profile photo, and your photo stream. You can also edit it online at Instagram.com - not sure if you can upload photos or anything there; I haven't really explored it.
Anyone else looking at my profile page would see a button instead of Edit Your Profile - it will say Follow on it (or if they are already following me it will say Following). So when you are on the star icon page as discussed above, and you search for someone you can then click on Follow to have their photos appear in your feed.
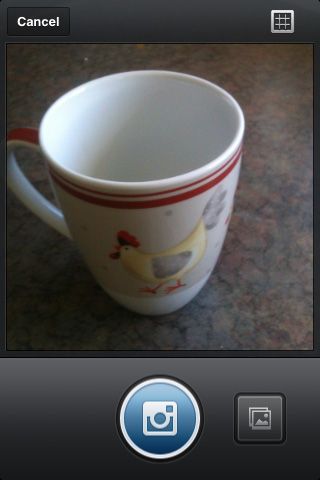
Okay, lastly the camera icon. When you tap it it will take you to a screen that looks like this, and uses your phone's camera to take a picture:
Once you have taken the photo, you'll see this screen:
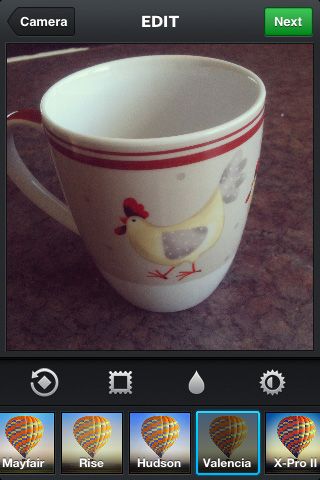
All along the bottom are different filters you can apply to your photo for different looks. Choose one, or just leave your photo plain - it's up to you. As you can see there are also other little tools - rotate, frame, not sure what the drop is, and brightness / contrast. Have a play and see what they do - I don't generally use them. Like I said, I'm hardly an expert.
Anyway, once you have your photo looking like you want it, tap on Next at the top of the screen. It will take you to this:
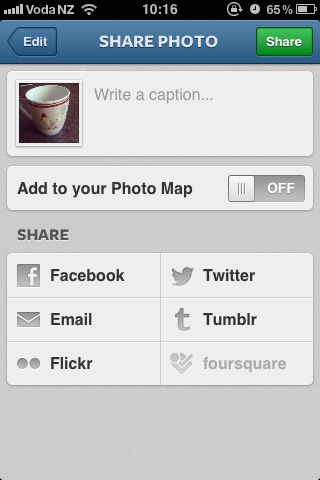
You can choose to share your photo on Facebook (which I sometimes do), email, Flickr, Twitter, Tumblr or foursquare. Or not.
If you click on where it says "Write a caption..." your keyboard will pop up and you can leave a comment with your photo:
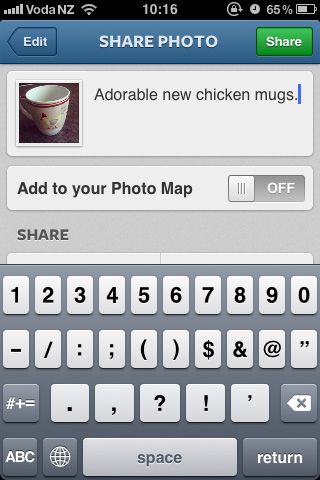
Then, when you are done, tap Share at the top of the screen and voila, it will appear in your feed and in the feed of anyone else who follows you:

But what if you don't want to use the Instagram app to take photos - what if you want to Instagram a photo you took the normal way with your phone camera, or one that you downloaded from an email or the internet? Go back to the camera icon and you'll see a symbol on the bottom right:

If you tap that icon (the one in the square) you will be taken to your phone's photos:
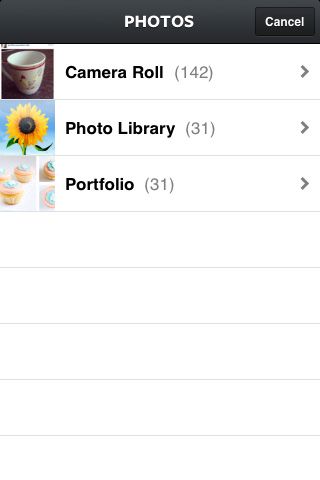
Choose which photo you want to work with and it will take you to a screen where you can crop it - all Instagram photos are square. This is a picture I took at an organising client's house - I loved her chairs and table:
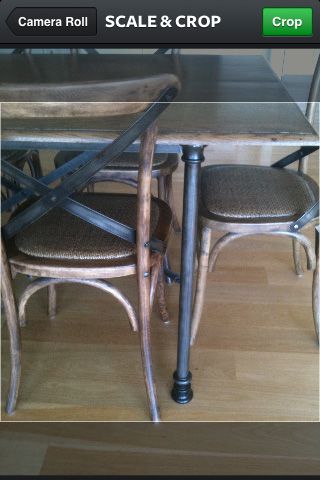
When you have cropped it and tapped on Crop in the top right corner it will take you to the filter screen as discussed above and you can continue as normal.
(By the way, any photos that you take through Instagram are also saved into your camera roll.)
I hope that made sense! I'd definitely recommend giving Instagram a go - it's great fun. I love that it's like micro-blogging. Sometimes you want to share a photo or moment but it's not enough to warrant an entire blog post - it's perfect for that. If you want to follow me on Instagram, my username is jenthousandwords - hope to see you there!
