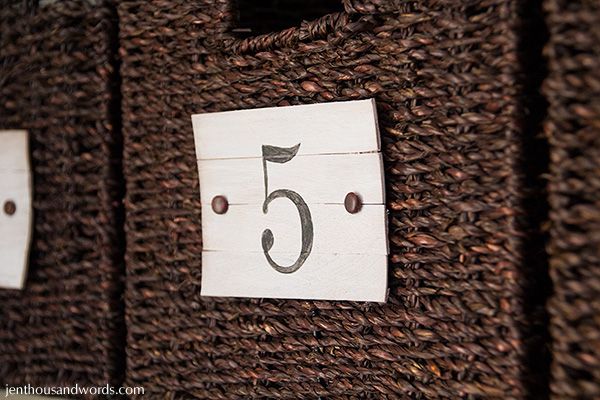
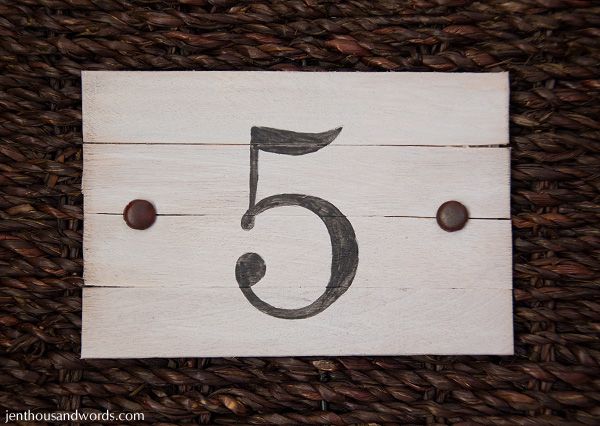
Can you guess what they are made of? I wanted to make them out of little wooden plaques but none of my dollar stores has any so I used what I had in the house - tongue depressers / wide popsicle sticks. I think they turned out even better than plain flat wooden plaques.
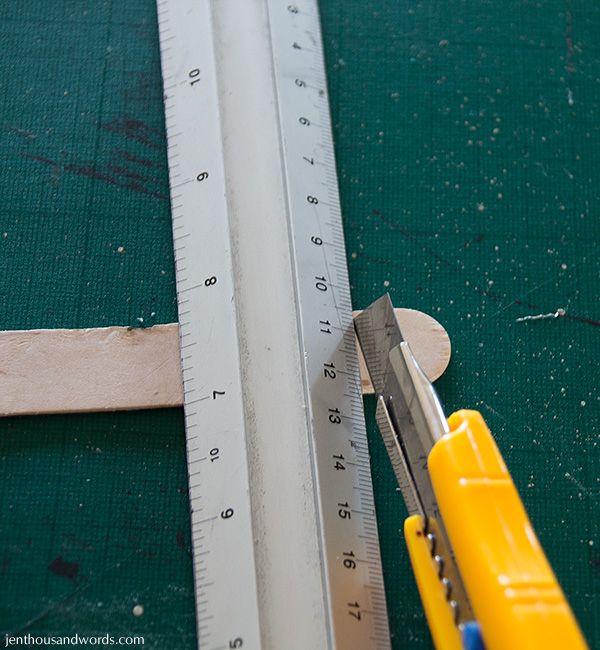
To begin with I cut the curvedends off of the sticks. To do this I used my metal ruler and craft knife to score over and over into the wood.
Then I snapped the end ...
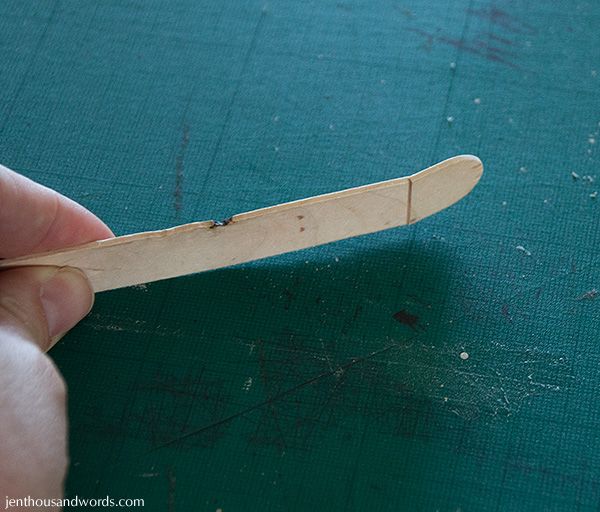
... and used scissors to cut through the remaining wood.
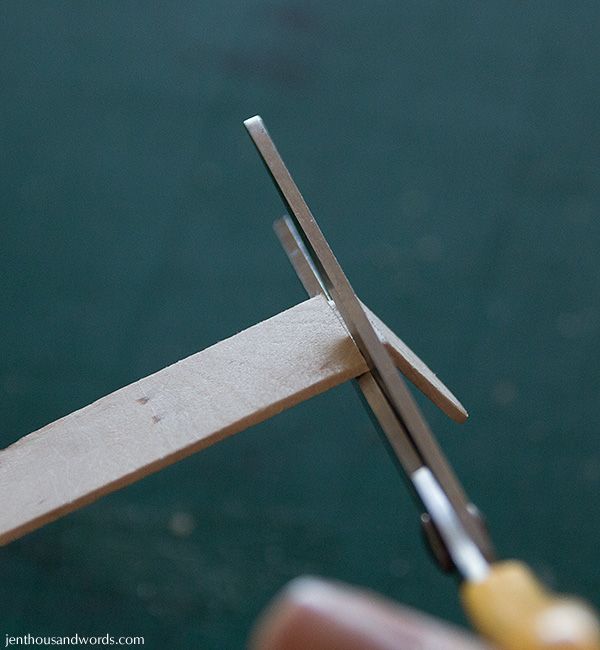
Once I had cut the ends off all of the sticks ...
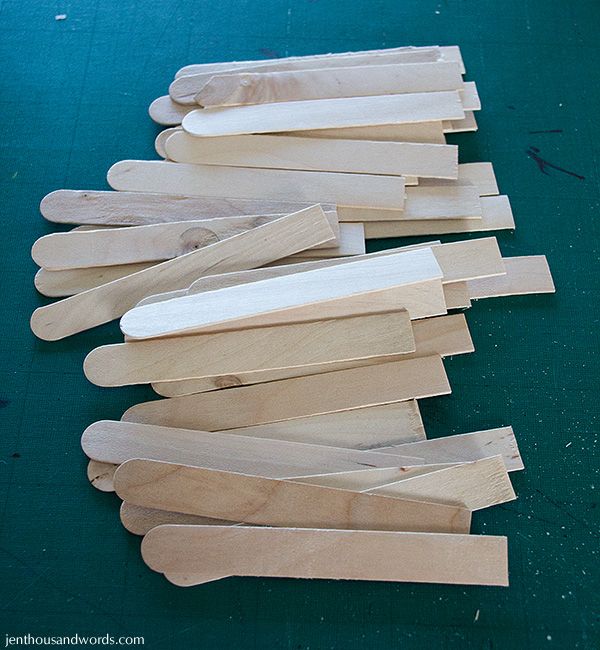
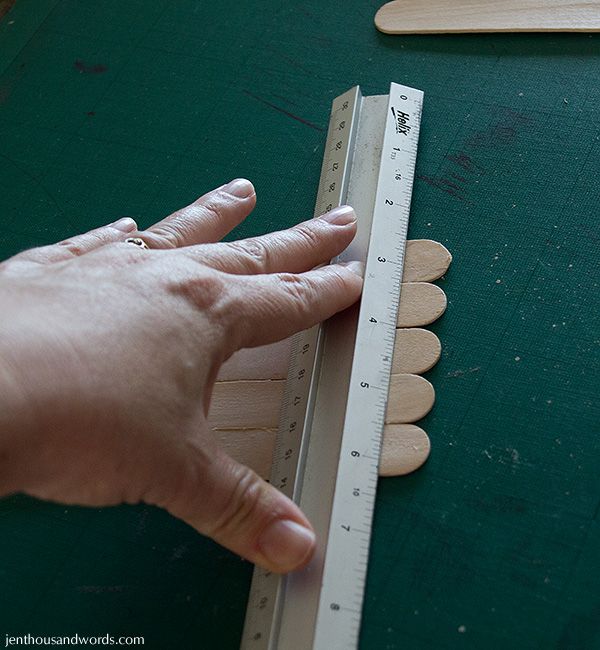
... it was time to do the other ends. I put four together and scored them at the same time. It was a bit tricky as the sticks kept wanting to shift, but not too bad.
Then I cut some pieces of card slightly smaller than the sticks and used all-purpose glue to glue them on to hold the sticks together for each sign.
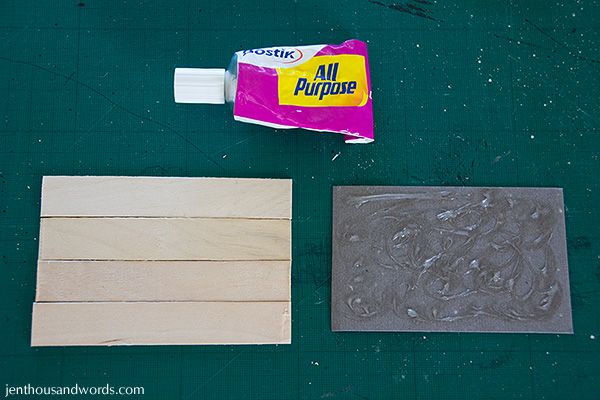
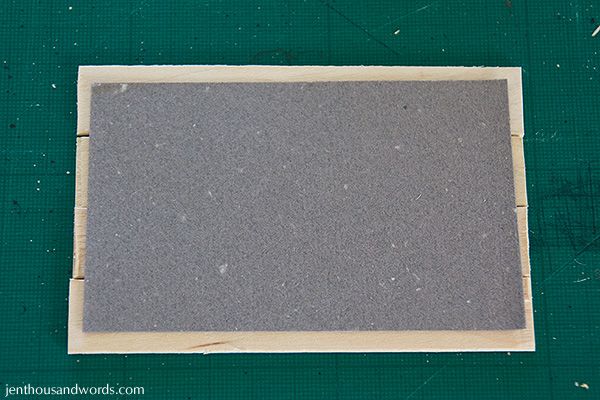
I pressed them under books while they dried. Then it was time for painting. I mixed up a light grey colour with acrylic paints that I had, watering it down so it was a little sheer, and painted that on.
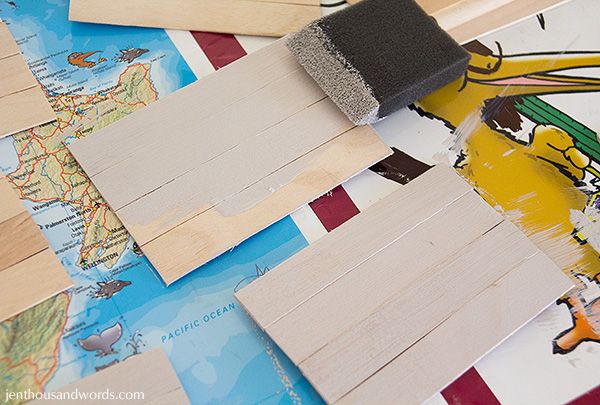
Then I dry-brushed on some white for a bit of dimension. The signs needed pressing again as they dried as the wood wanted to curl. I waited until they were half-dry then layered parchment paper over them and placed them under heavy objects.
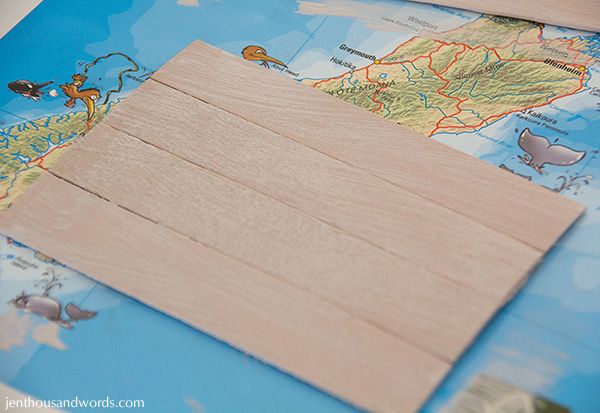
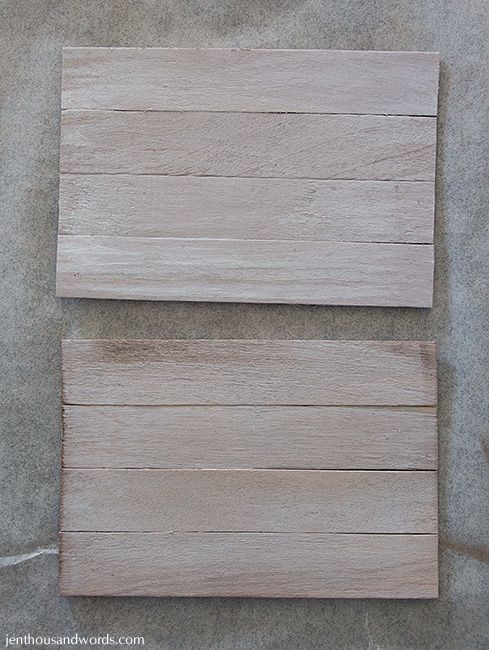
I wanted to age the signs a little and in the end I decided on eyeshadow! I just rubbed a bit onto the signs, concentrating on the edges. Here you can see how the signs looked before and after the eyeshadow.
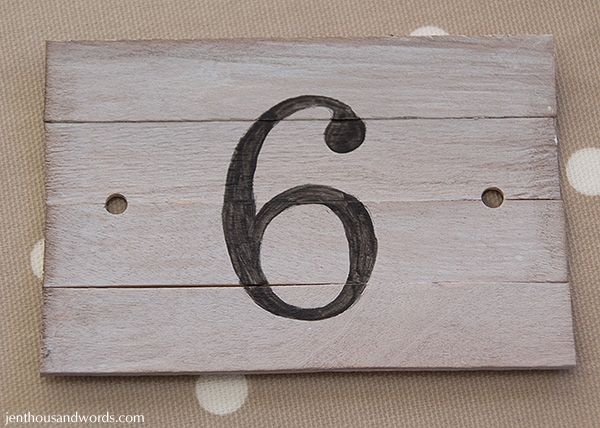
Then it was time for the numbers. After deciding on which font I wanted to use (Century Schoolbook) and making the numbers the right size, I printed them out.
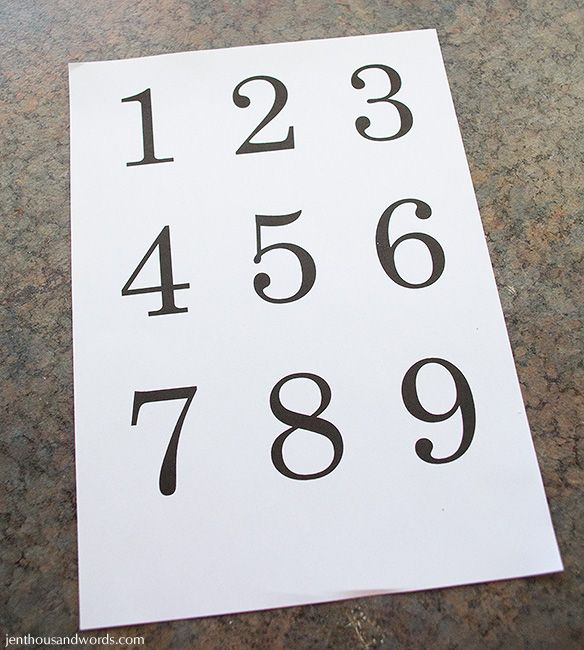
I cut each number out, laid it onto a sign and using a ballpoint pen I outlined the number, pressing hard.
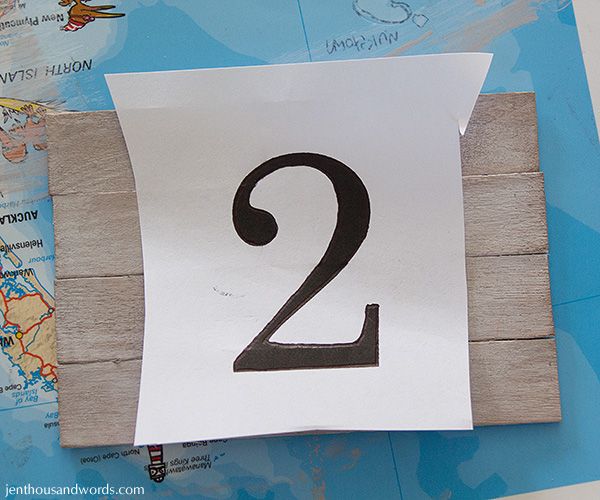
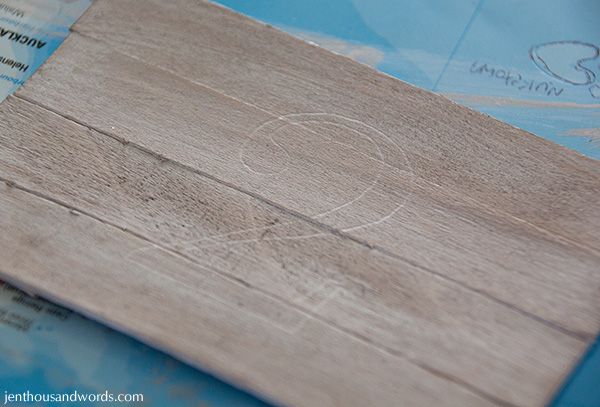
This left an indentation on the wood.
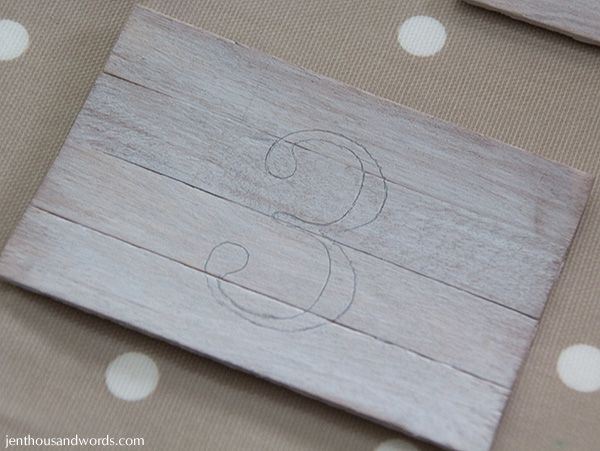
I used a sharp pencil to follow the indentation and outline each number.
Then I mixed some black acrylic paint with a bit of white to lighten it and watered it down. I didn't want stark black numbers. I used a fine paintbrush to fill in the numbers.
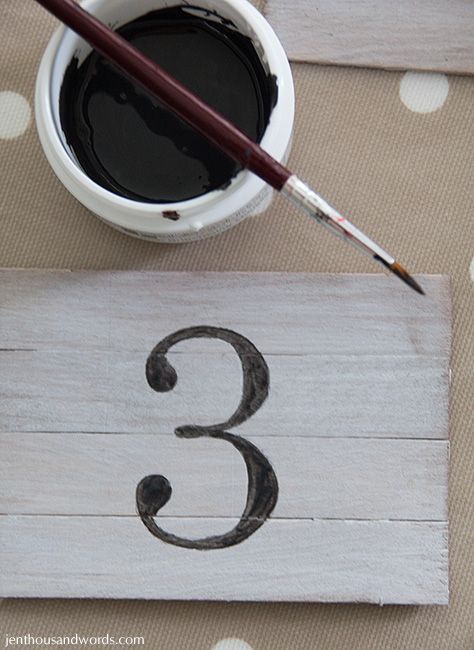
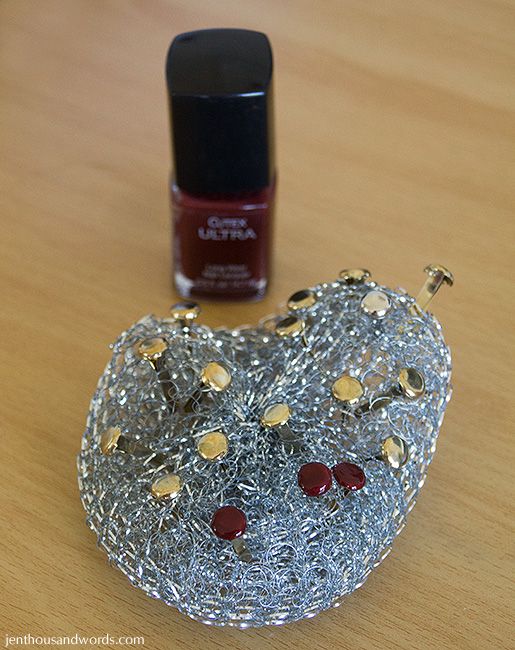
While the paint was drying I was preparing the paper fasteners / brads. I stuck them into a piece of steel wool and painted them with some rusty reddish-brown nail polish.
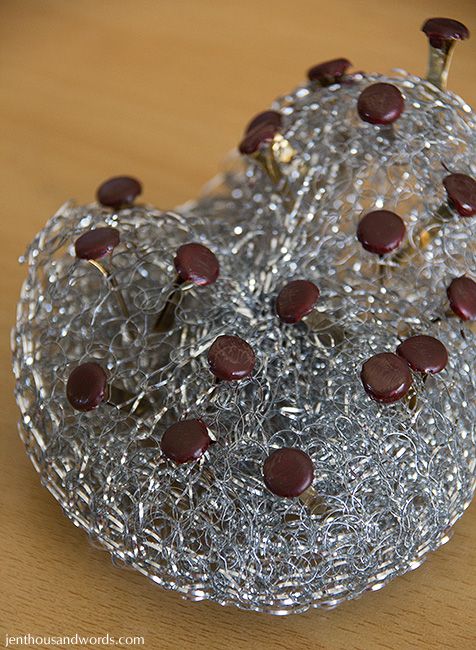
They looked too shiny so when they were dry I dabbed on some dark brown acrylic paint.
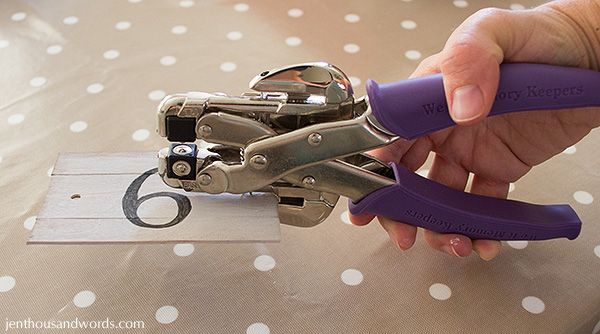
Time to assemble the signs and attach them to the baskets! I used my Cropodile tool to punch holes in either end of each sign.
Then I held them to the front of the baskets, stuck a paper fastener through each hole and through the basket and bent the little legs open to hold it in place. I'm really pleased with how they turned out and they are easily removed if I want to change them in future. What do you think?


