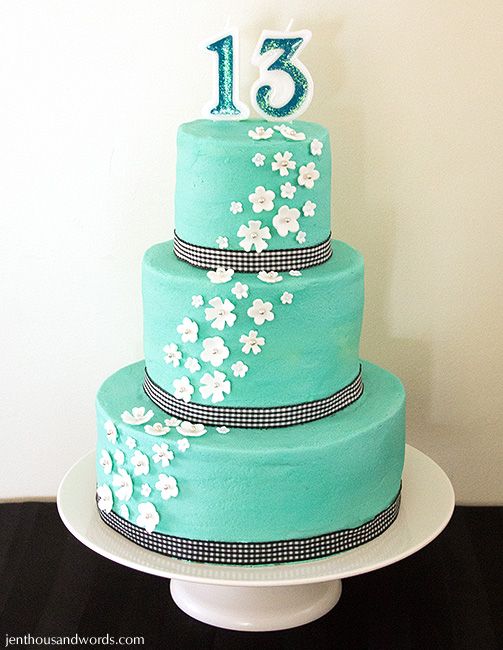
Anyway, I thought I'd show you step-by-step what goes into making a three-tiered cake.
1. Make a range of white fondant flowers in various sizes. Leave to dry thoroughly. (Do this a few days or even weeks ahead of time).
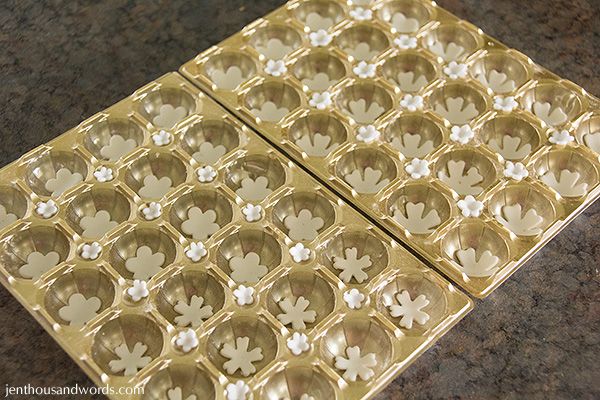
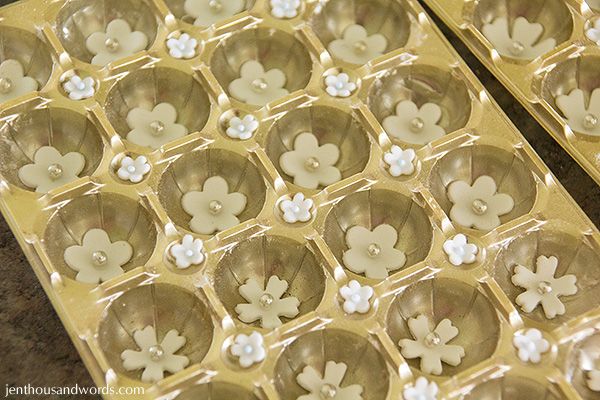
2. When dry, add silver dragées and tiny nonpareils to the centres of the flowers using royal icing.
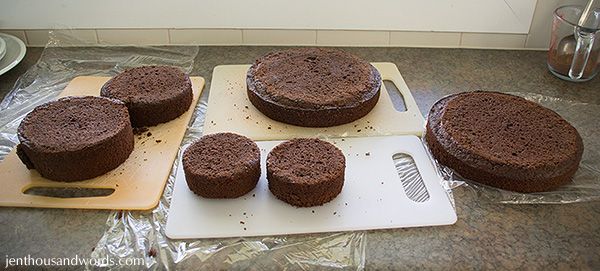
3. Bake two large, two medium, and two small cakes and let cool.
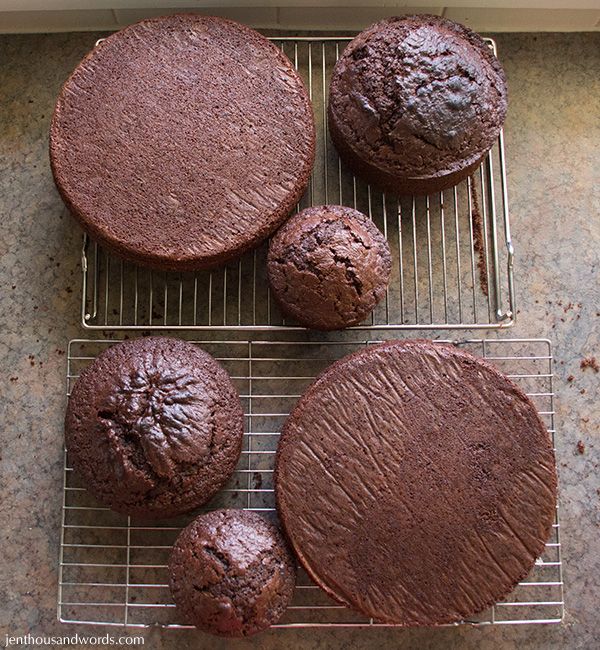
4. Once cool, use a bread knife to level the cakes.
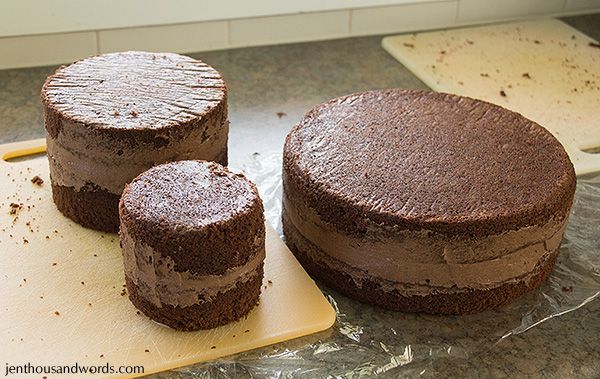
5. Make up some buttercream icing with a high butter to sugar ratio and fill the cakes. Press down on the cakes and then smooth out any excess icing around the edges. You don't want the cakes filled too full or they can become unstable.
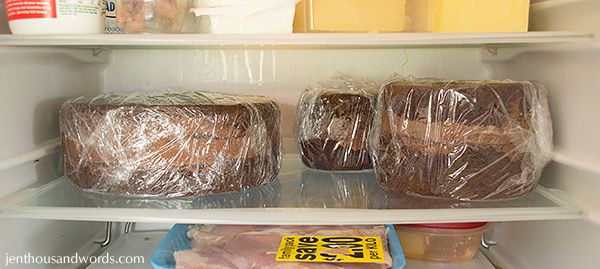
6. Wrap and refrigerate the cakes. The high butter content means that the icing will set nice and firm when refrigerated, preventing the layers from sliding or the icing from bulging.
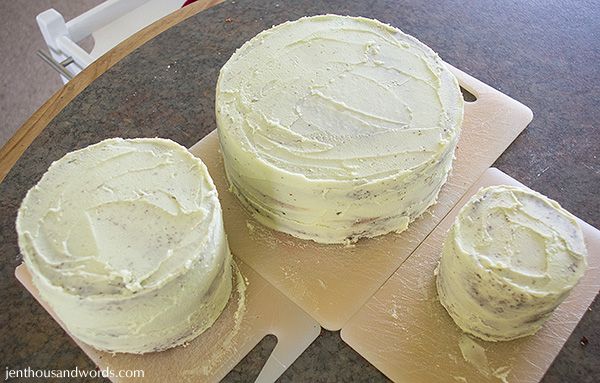
7. Make up some more buttercream. When the icing filling the cakes has set, ice the cakes with a crumb coating and leave to dry. This catches all of the crumbs that naturally pull up into the icing, and traps them so that when you do your final coat of icing the crumbs don't appear to spoil it.
8. Make up some more buttercream with a high sugar to butter ratio, and colour it. Ice the cakes. The high sugar content means that this buttercream will "crust" - it will set into a slightly crispy layer as it dries.
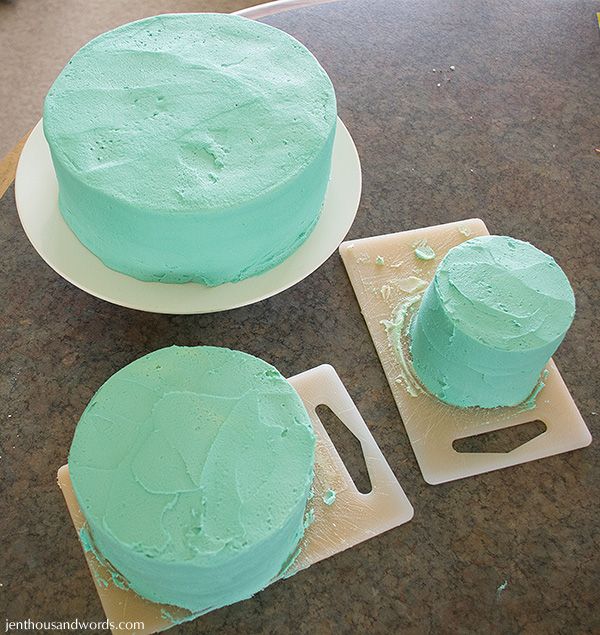
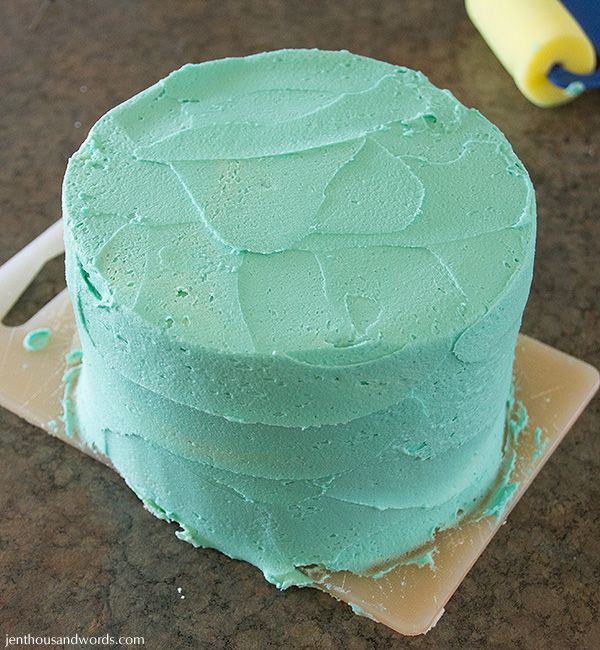
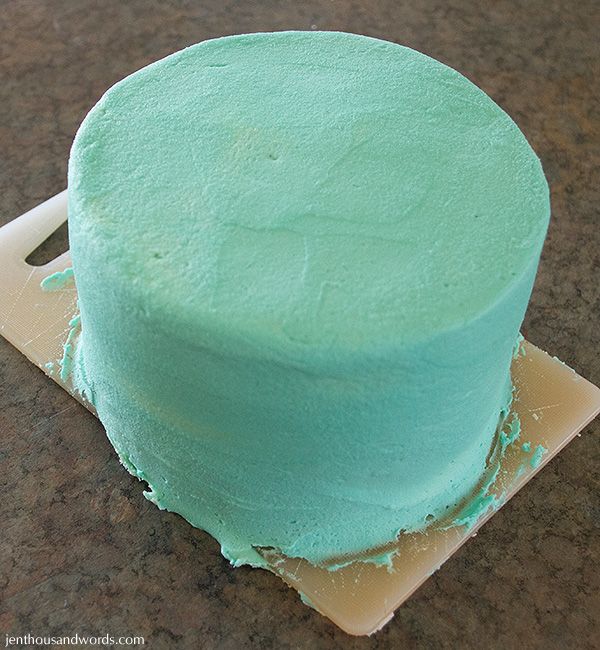
9. Once the buttercream has crusted, but before it sets completely, use a foam roller to smooth it. If you do this too soon it will pull up the icing. If you wait too long, it will crack the icing. Just check that the icing dents to the touch but doesn't stick to your finger and you're good to roll.
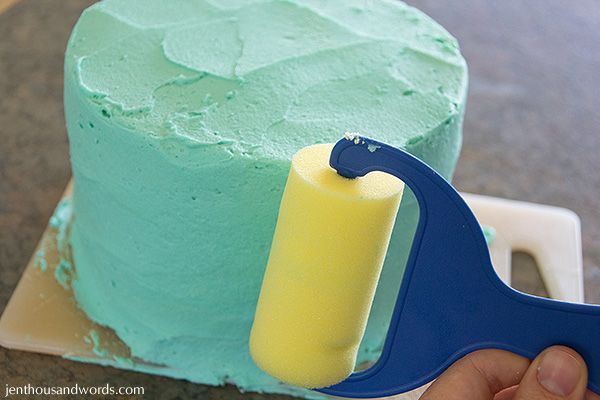
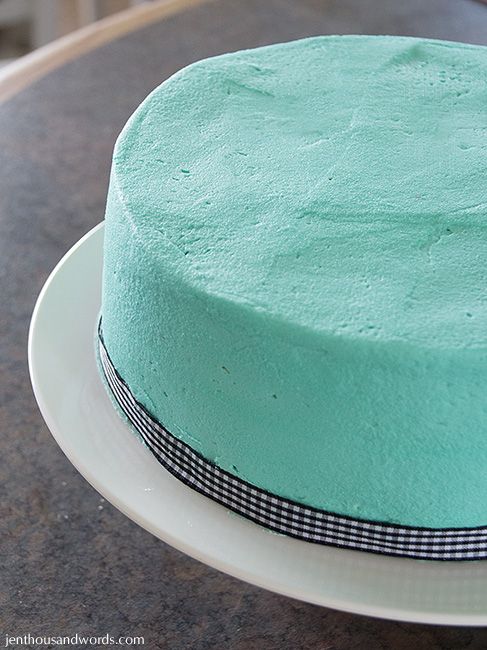
Here is how the cake looks before and after rolling.
10. Add ribbon to the bottom layer.
Once the crumb coating goes on the cake is essentially sealed from the air and you don't have to wrap it anymore. For interest's sake, here is how I store the cakes while the layers of icing are drying. First, I put water on a plate. Then I add a little ramekin.
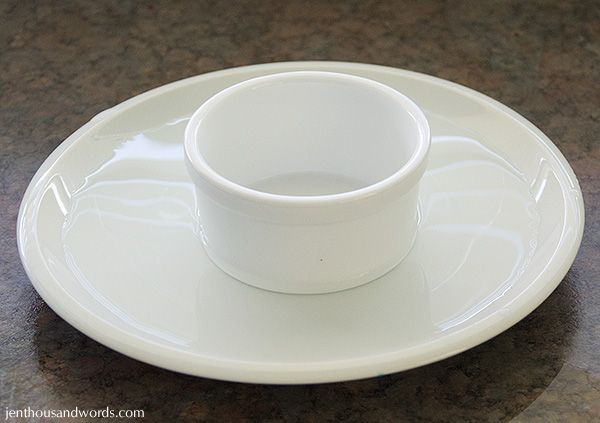
This creates a little moat that ants can't cross. I rest the cake layers, on little cutting boards, on top of the ramekins and add a pop up fly net over the top so flies can't get to it.
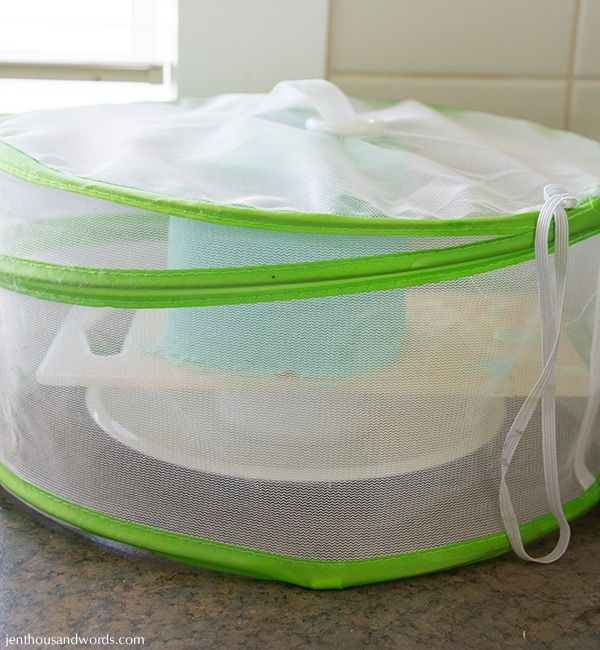
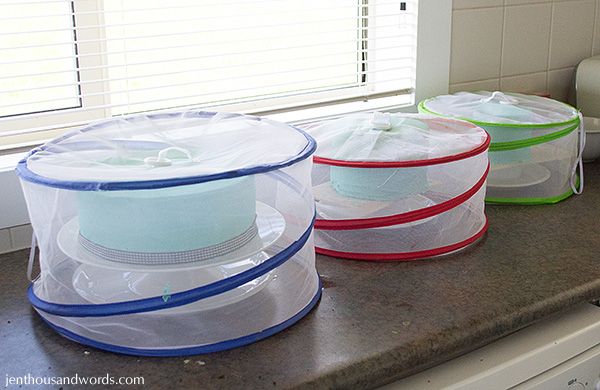
The next steps I did at my friend's house, so the cake had already been transported there.
11. The bottom tier of cake sits on a cake stand. The other two layers each have a circle of plastic (cut from a sturdy disposable plate) underneath them, with the cake "glued" on with a bit of buttercream. To stack the cakes, first insert drinking straws into the bottom layer until they hit the cake stand, and cut them to size with scissors (you can also use small dowels if you prefer, or if you have a bigger cake or more tiers or use fondant, which is heavy). The straws take the weight of the next layer of cake so that it doesn't sink into the bottom layer.
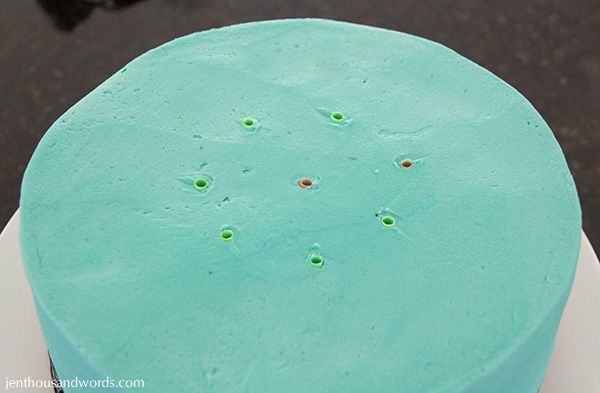
12. Add the second tier and finish with a piece of ribbon.
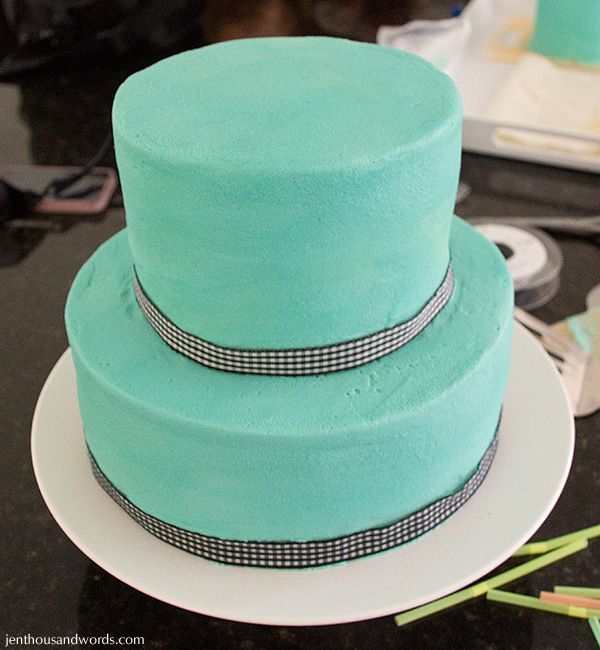
13. Repeat the straws step by sticking them into the middle layer until they rest on the plastic disk, then cut to size.
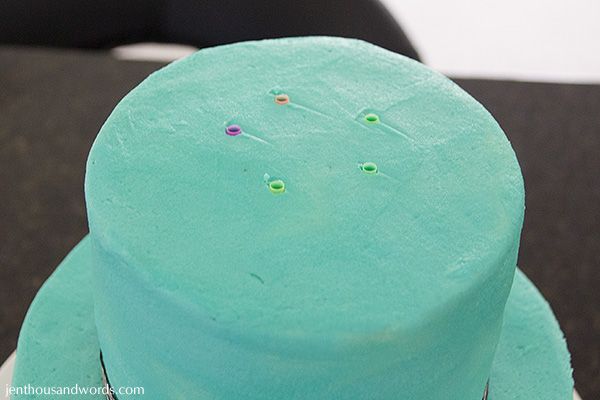
14. Add the top layer and finish with ribbon.
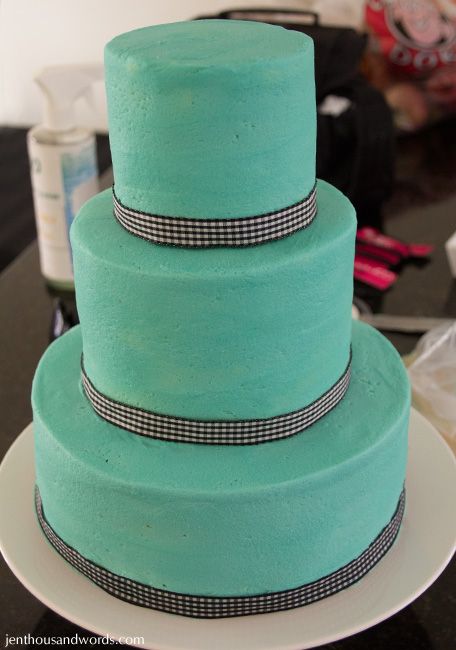
15. Stick the flowers on with a little buttercream or royal icing.
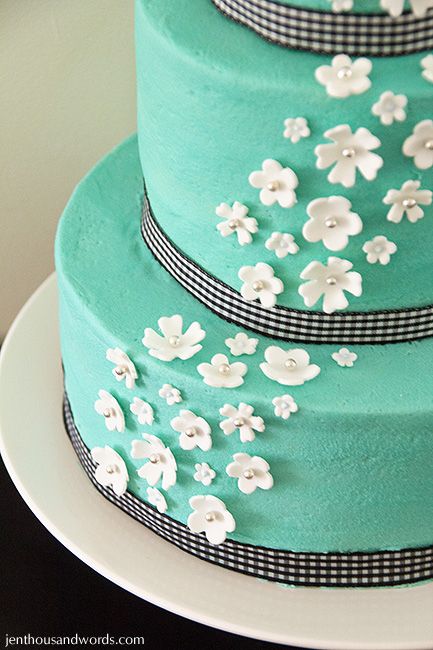
16. Add some glittery candles.
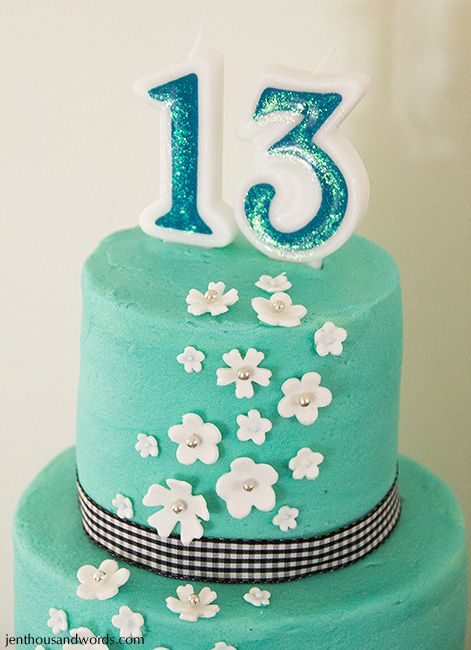
Voila! The three tiered cake is complete.
