
Think about HOW you are photographing
Now that we’ve covered what to photograph, we’ll talk about how to photograph it. We’ve covered a little bit of the “how” when talking about taking photographs of details. Now we’ll look at composition, perspective and zooming.
Composition
You have to compose every photo that you take. Composing means you look through the viewfinder, or on the little LCD screen on your digital camera, and decide how you frame what you are going to take a picture of. You choose if the picture of a beach will have more sand or more sky by moving the camera up or down. When photographing someone’s face, you choose where in the photo their eyes will be placed.
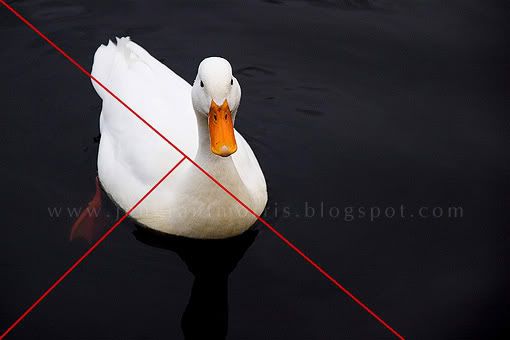
A simple rule to make your compositions pleasing to the eye is to use the rule of thirds. All this means is that you mentally divide the image in your viewfinder into thirds vertically and horizontally ...
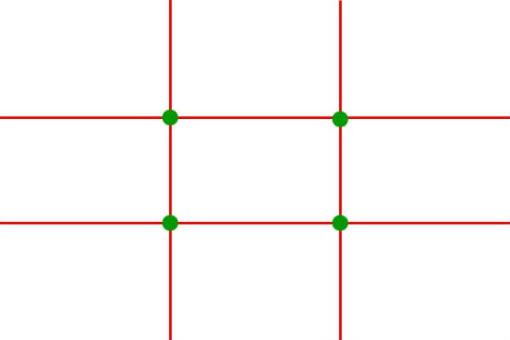
... and if you place the subject along a line, or where the lines cross, you will have a pleasing composition. Here are some examples:
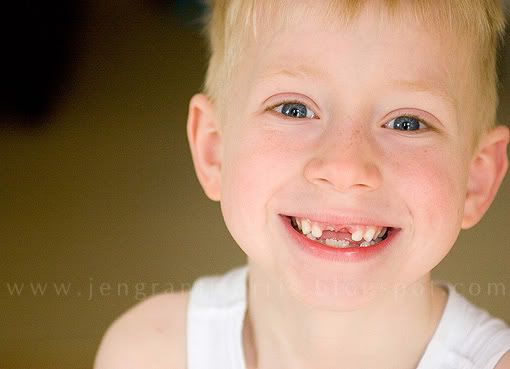
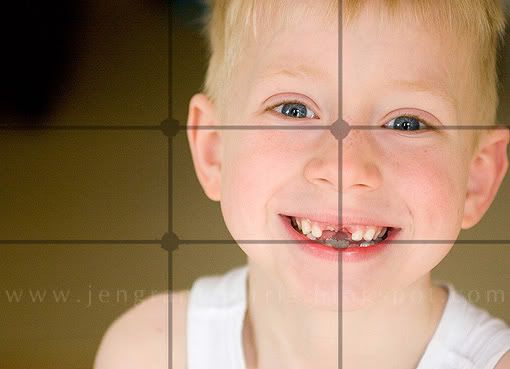
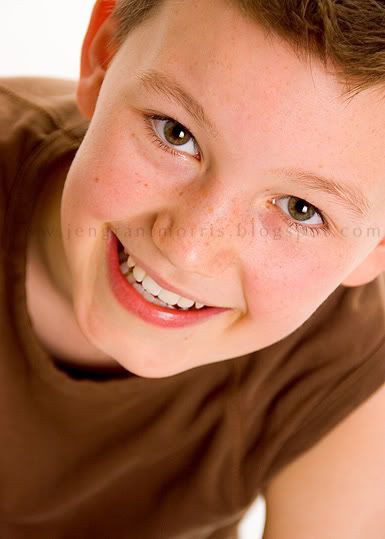
I took this picture of Daniel when he lost both of his top teeth. Notice that his eyes appear on a spot where the thirds cross, as does his mouth, which is the main point of the picture. Don't be afraid to chop the tops of heads to achieve the composition.
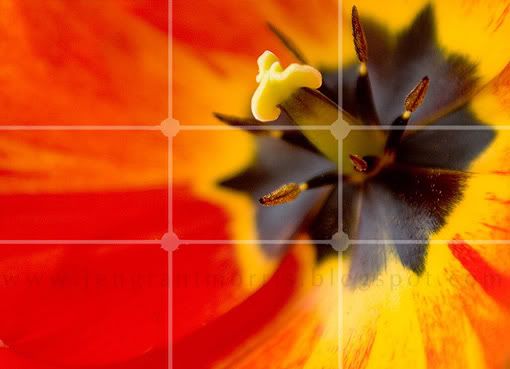
This picture of a tulip illustrates the principle too, with the centre of the flower, or the focal point of the picture, placed on a junction of thirds.

Another portrait utilising this rule. Again, don't worry about chopping heads – rather have a chopped head and a pleasing composition than an entire crown and awkward framing.
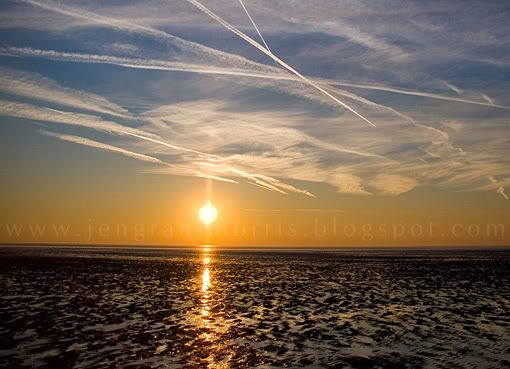
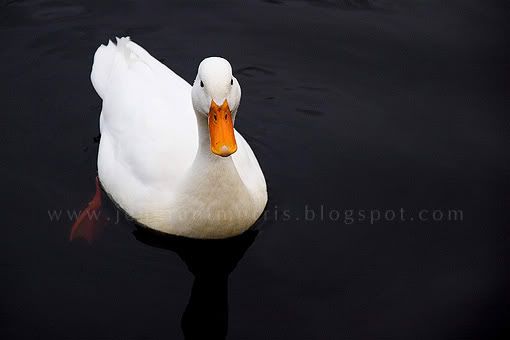
With landscapes, if you place the horizon dead in the centre of the photograph it can look chopped in half. By placing it along one of the thirds you will have a more pleasing composition.
This beach picture includes two thirds of sky and one third of sand as the sunset and clouds are the focus.

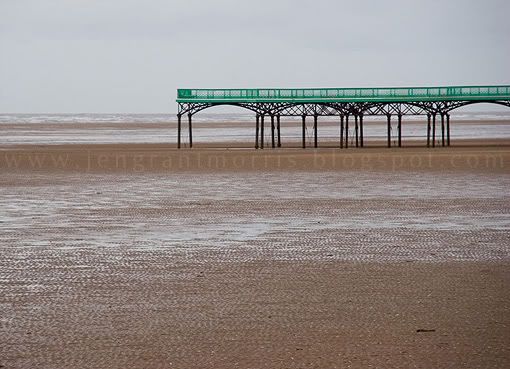
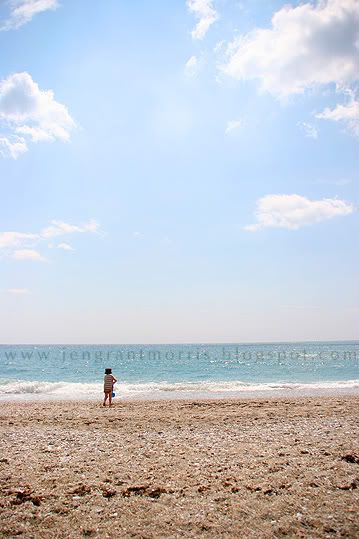
In this beach picture, however, the sand dominates with two-thirds of it in view and the pier placed on the top third – this conveys the feeling of space on the cold, empty beach.

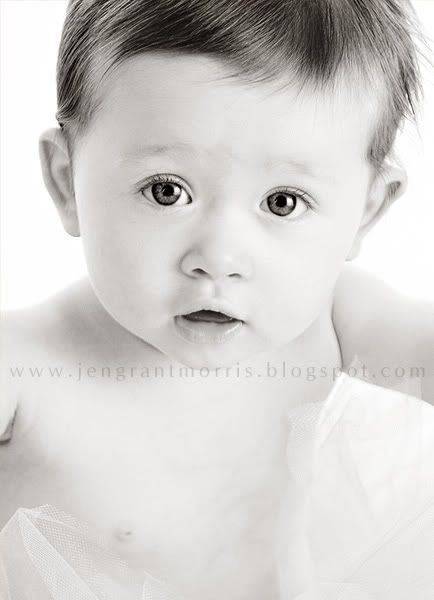
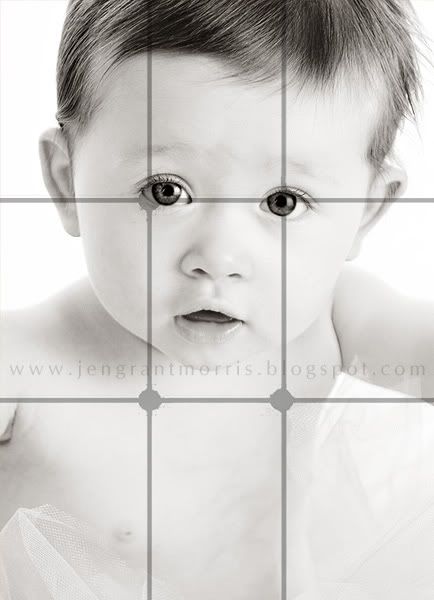
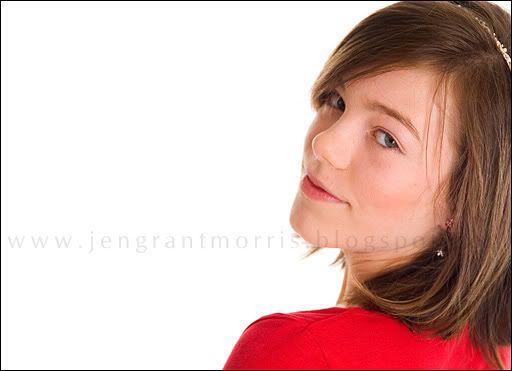
Either of the following portraits is “correct”. However, the second version is more interesting, your eye is led to the subject by the white space and it has a more intimate feel. By placing her eyes on the junction of a third you are less distracted by her hair band and the white space on either side of her.

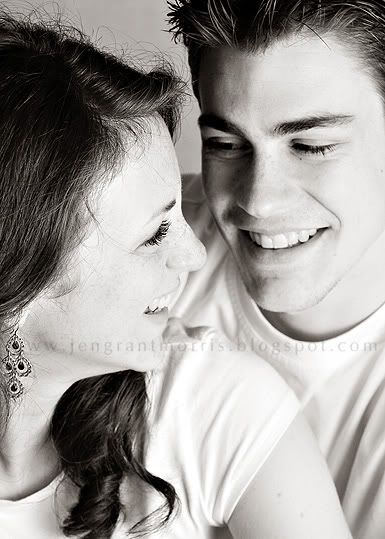
Triangles and diagonal lines add a sense of movement and interest. They are especially effective if the diagonals land on a third. Can you spot the triangles and diagonals in these portraits?
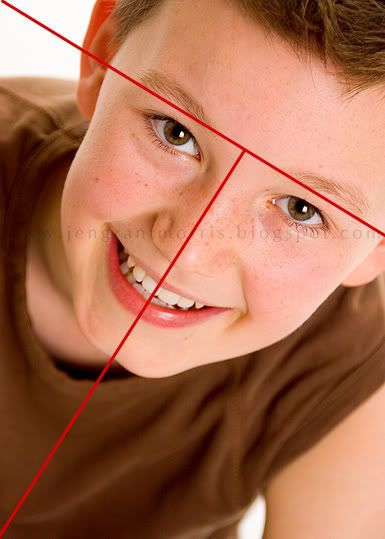
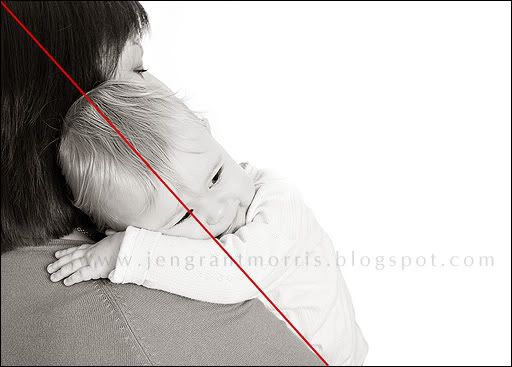
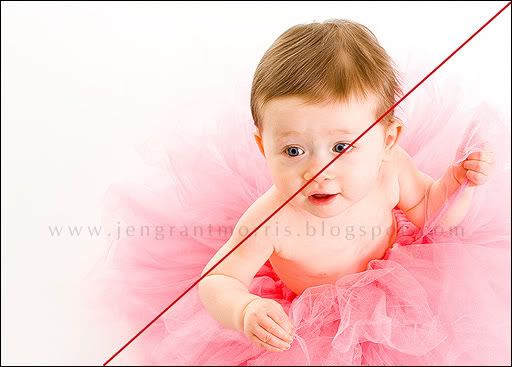

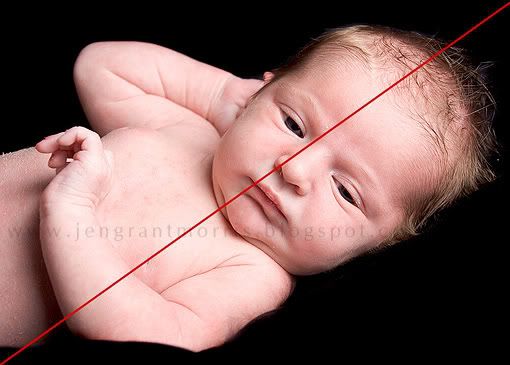
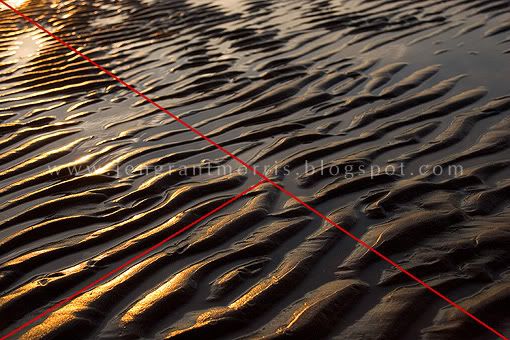
Notice how these triangles and diagonals lead your eye through the image and create interest.
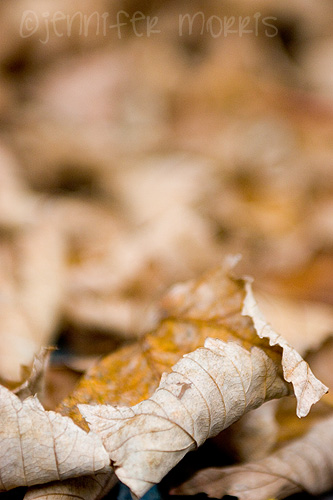
Can you spot the triangles and diagonals again in these nature shots?


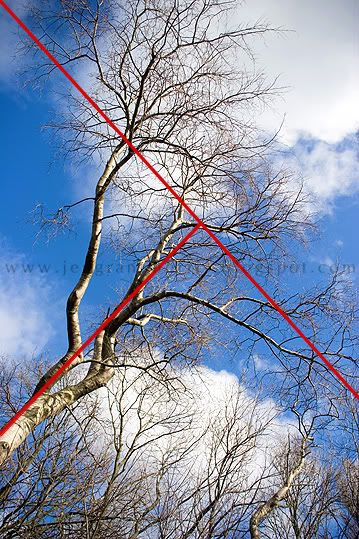

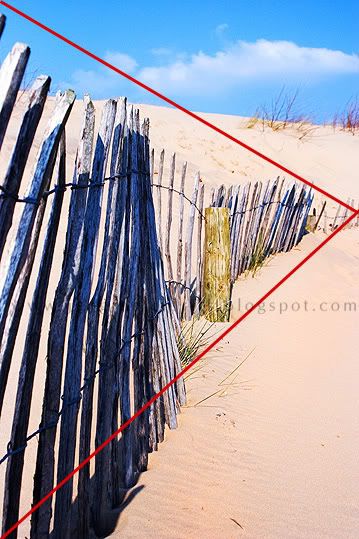
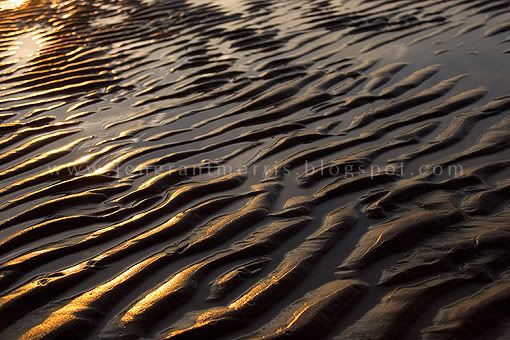


All of the tips and tricks mentioned in this class apply to portraits, pictures of objects, nature shots, landscape images – any type of photograph you can take.
When composing your pictures, take your time. Too many of us simple point-and-shoot. By all means, take your regular quick snaps … but then just take a little moment to look at everything in your viewfinder. Look to see if your subject has a telegraph pole sticking out of their head, look to see what’s in the background. You don’t even have to move your subject, sometimes all it takes is for you to take a half step to the side to eliminate distracting elements. Just take your time. It will become second nature to you.
Perspective
Perspective is simply the angle from which you take the photograph. The obvious perspective is front and centre because that is usually where you are standing, looking at your subject (remember the mug shot?) But if you get down low or climb up high and try a different perspective, or angle, your photos will be something better than ordinary.
Bird’s eye view is fun and fairly easy if you have a table or chair handy, or a ladder for taller subjects. It’s also flattering as it elongates your subject’s neck, smoothing out any double chins and slimming their body.
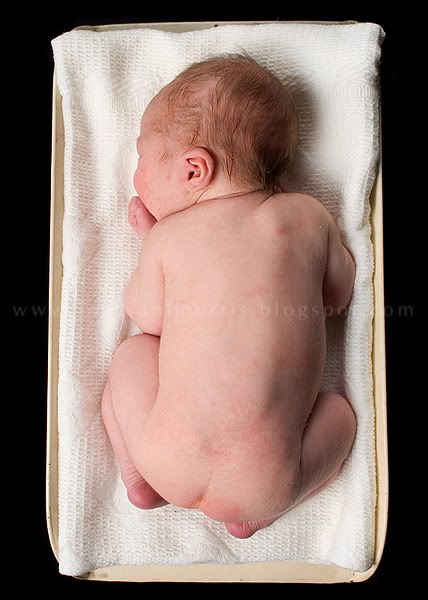

If your subject isn't looking at the camera then this angle can have the effect of spying on them, creating a natural feel to the picture.

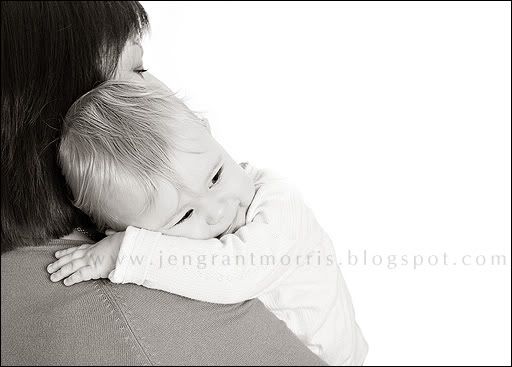
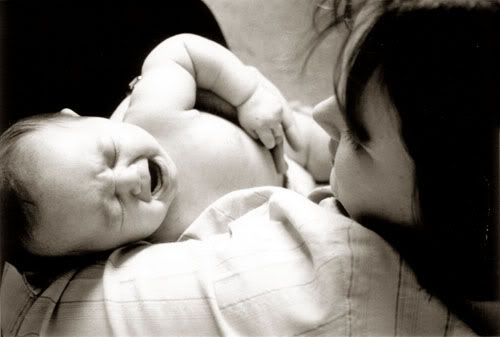
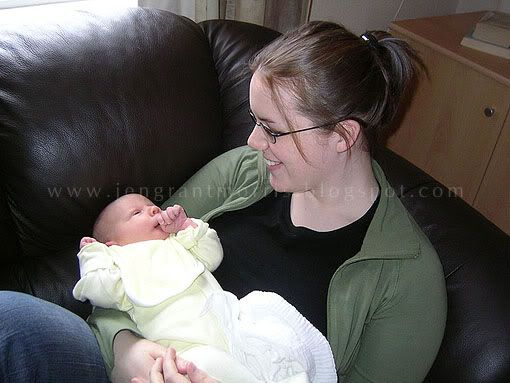
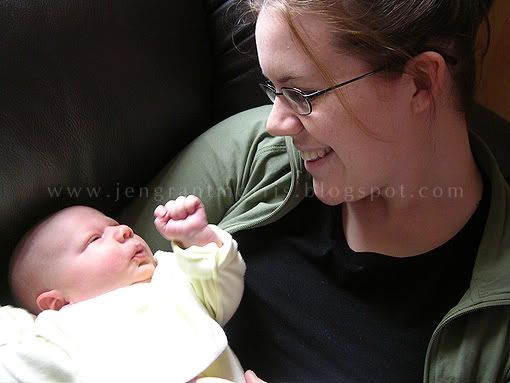
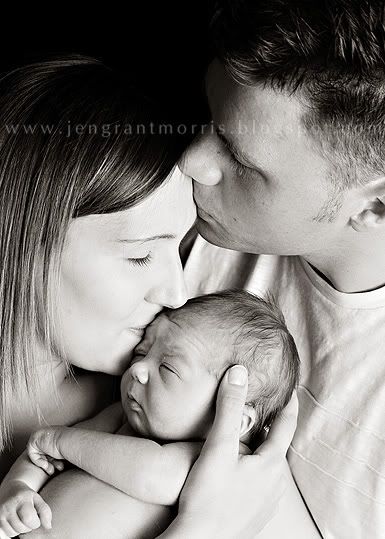
Look at these two images. These tender moments captured of a mother with her baby have an intimate feel, almost as if I weren't in the room. And dead centre frontal perspective wouldn't have achieved the same effect.

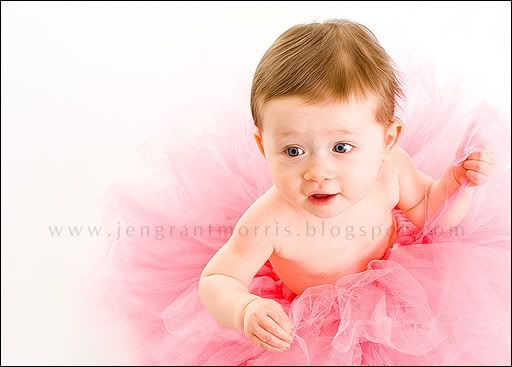
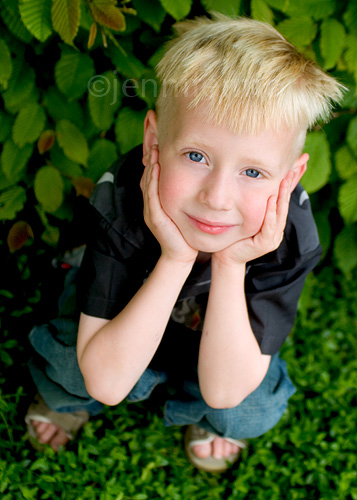
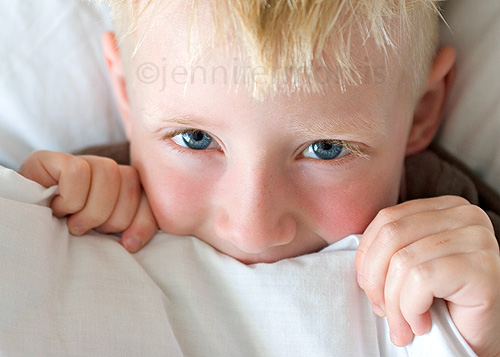
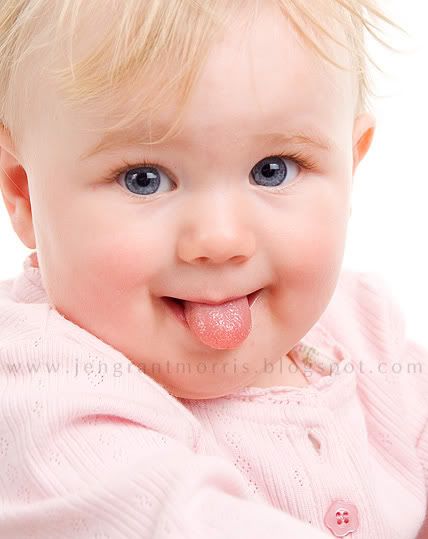
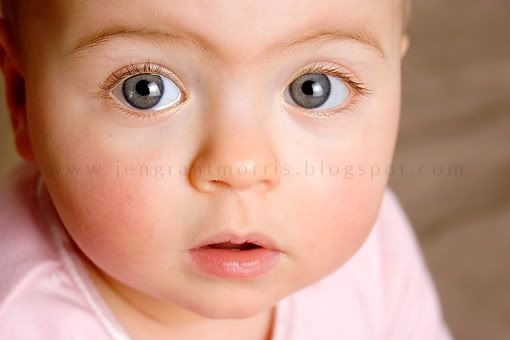
The following pictures were all taken from slightly above the subjects. I'd like you to take a look at their eyes. Besides being placed on thirds, there's something else I'd like you to notice. Look at the bottom of the iris and notice that there is some white below it. Do you see it?
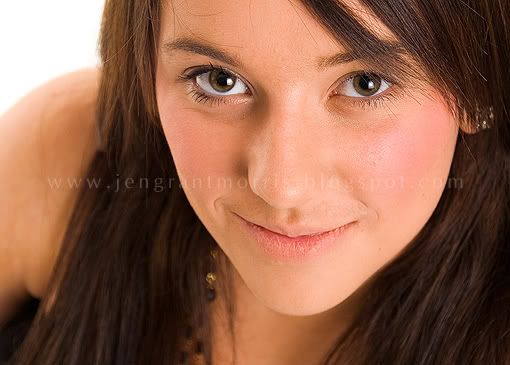
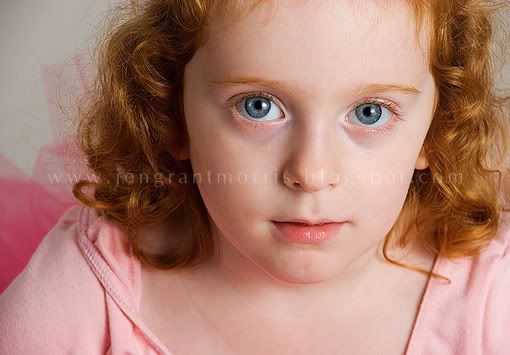
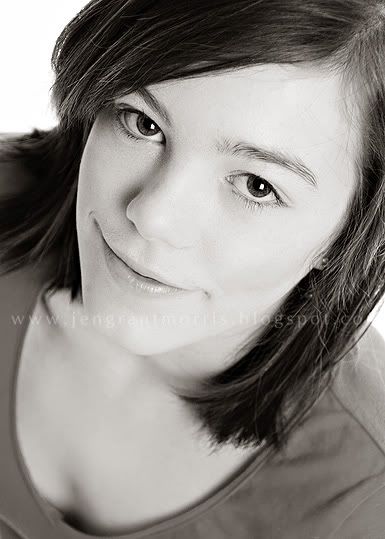
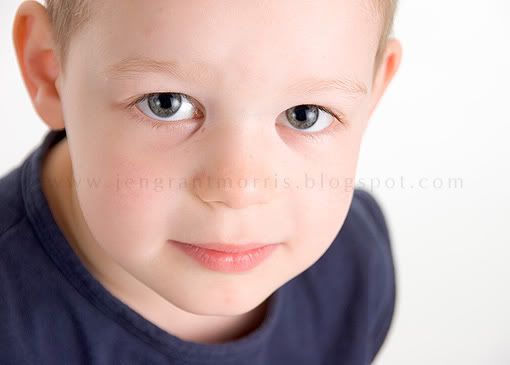
This little bit of white creates a more intimate and compelling portrait naturally. A little trick of the trade!
Standing slightly above your subject and having them look up also opens the eyes right up and makes them look large and luminous. You are more likely to capture great catchlights (click here for a lesson on catchlights) and give life to your portraits.
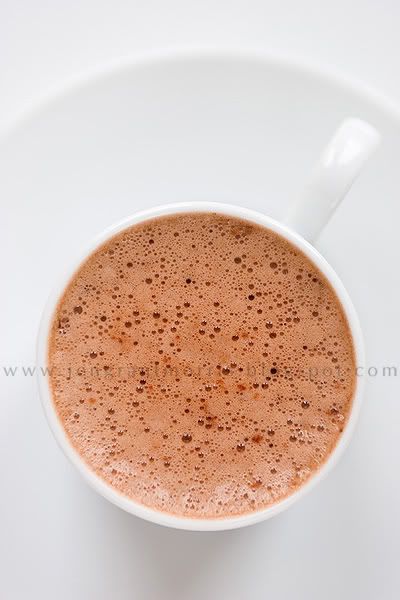
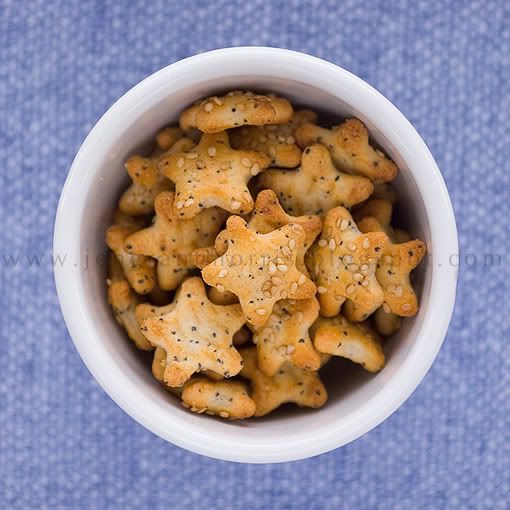
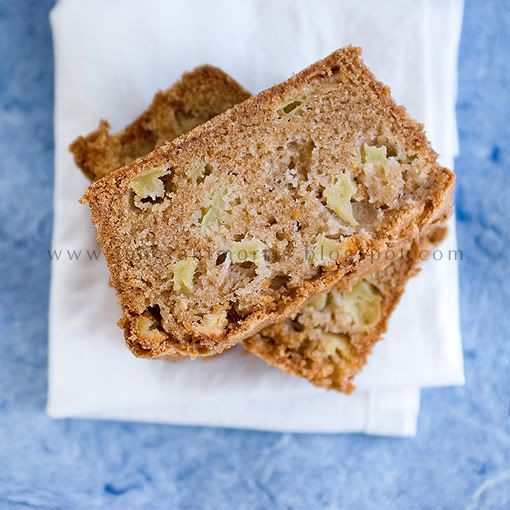
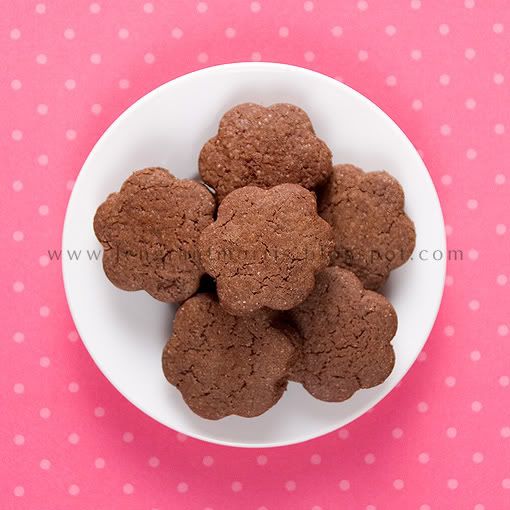
Here are a few shots illustrating the birds-eye perspective with food - they have a nice graphic feel to them.


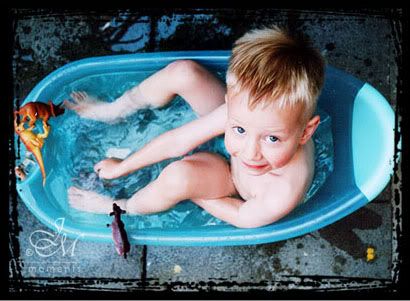
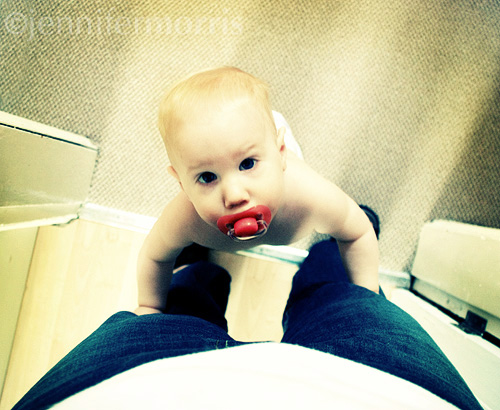
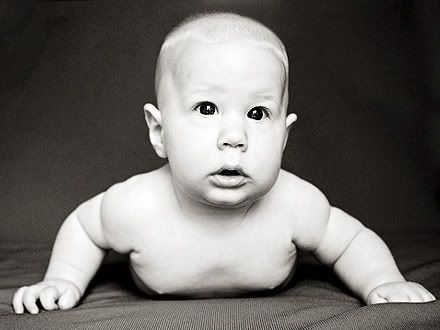
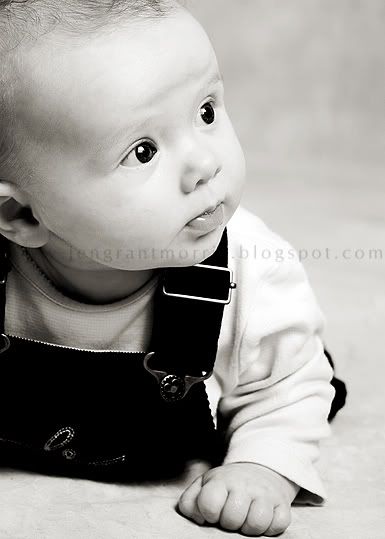
Another angle is to get down low. This angle is especially effective with babies and children because they are so little. It gets you into their space.
(Noah displaying his man-boobies - this picture always cracks me up!)


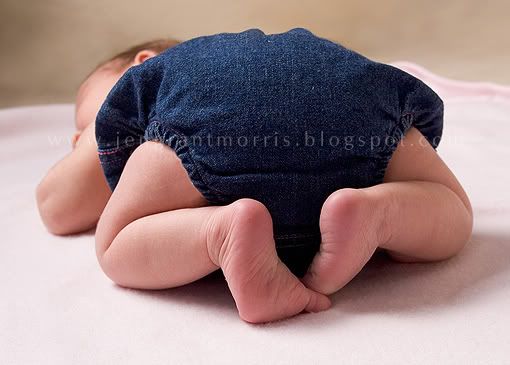
Notice the angle of picture of this picture – an unusual perspective, but one that shows off her chubby elbow dimples, plump legs and little feet. Things that her mother will want to remember.
Here are some down-low pictures of other things:


Zooming
To zoom or not to zoom! If you don’t have a zoom on your camera you might think zooming doesn’t apply to you, but it does since you’re mobile. Move physically closer and fill the frame with your subject.
Look at the difference in these photographs. First, a regular snapshot without thought to the background:
Now how the picture is improved simply by zooming. The background clutter is reduced and the focus is on the subject. Your eye is no longer distracted by the books on the cabinet and the light from the window hitting the top of the sofa. The picture has more power and the message or story it tells is clear.
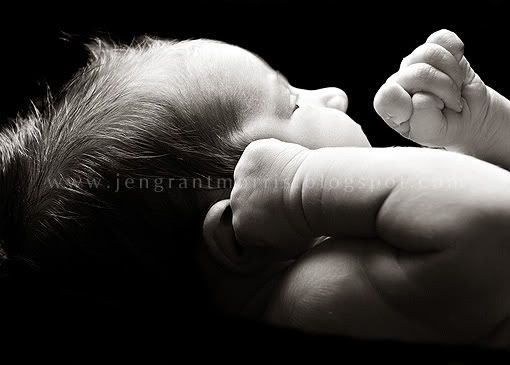
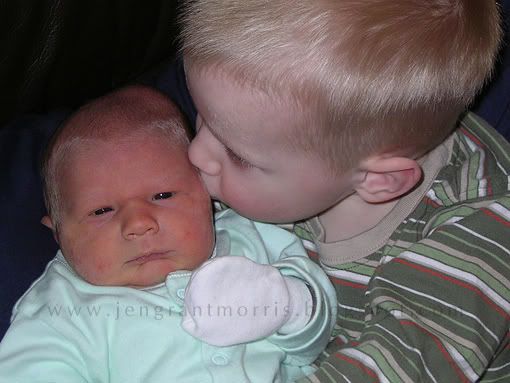
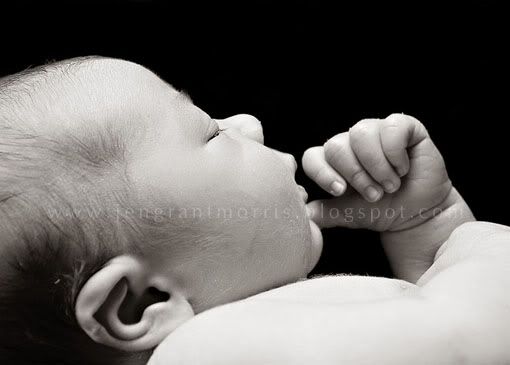
I have included both of the following images in my scrapbook. They each have play a part in what I want to record. The first one shows how little Noah was as he lay on Daniel's lap, and how little Daniel's hands clung to him.
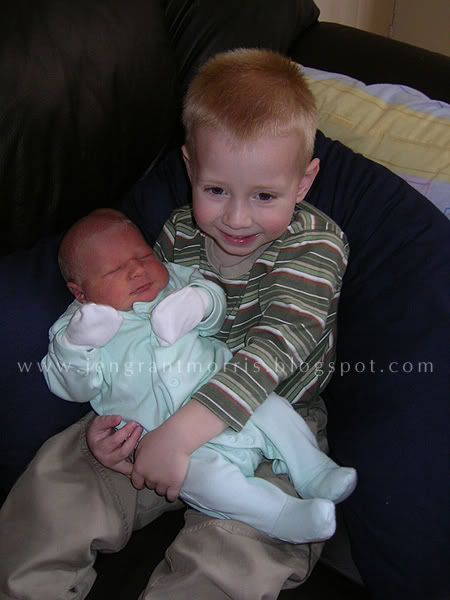
This one shows the love Daniel feels for his baby brother. So again, when applying this rule don't forget to take your regular zoomed out shots as well.
Don’t be afraid to get in so close that you chop off the tops of heads – it’s better than acres of unnecessary blank space above the subject.
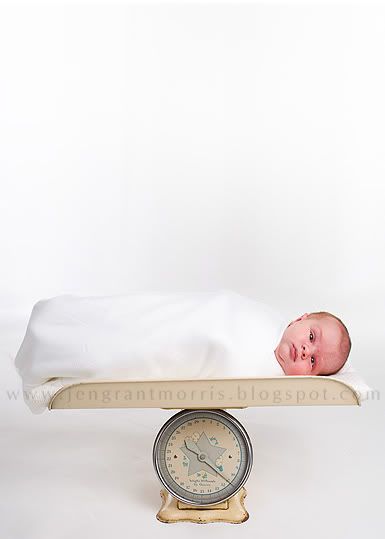
There are exceptions to every rule. Sometimes it’s better not to zoom in. If you want to convey a sense of space or show how small a subject is, leave them small in the photograph.
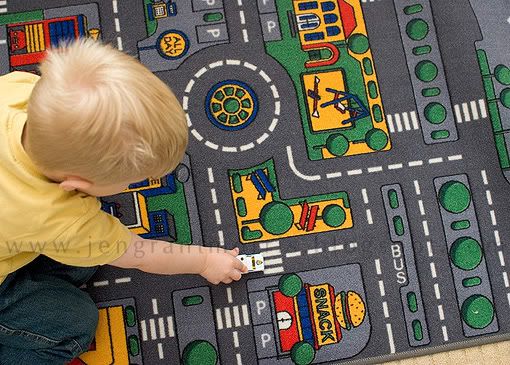
This photograph of Daniel playing is cute, but doesn’t really say anything much:
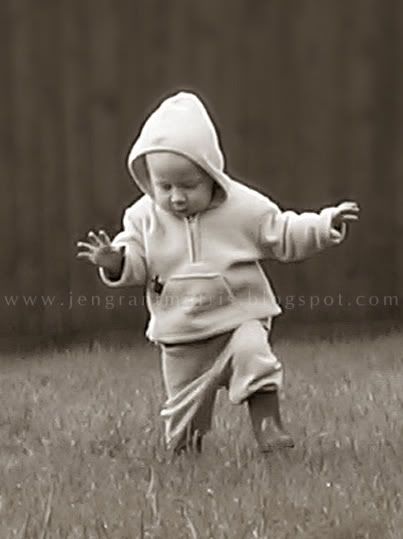
By zooming right out I am able to capture how tiny he was as he adventured in the back yard.
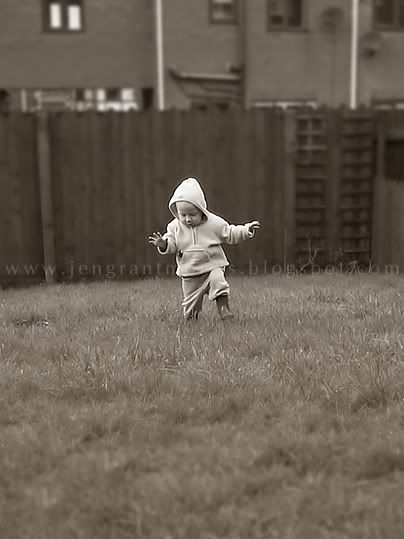
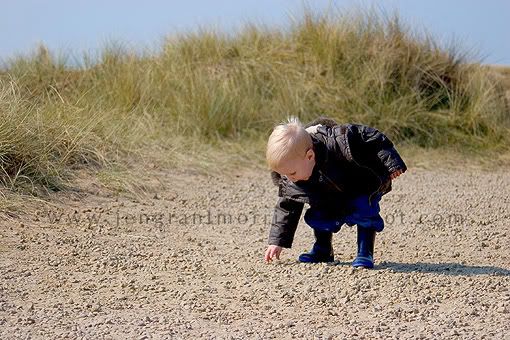
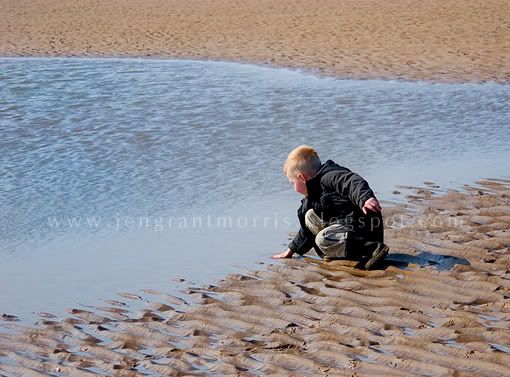
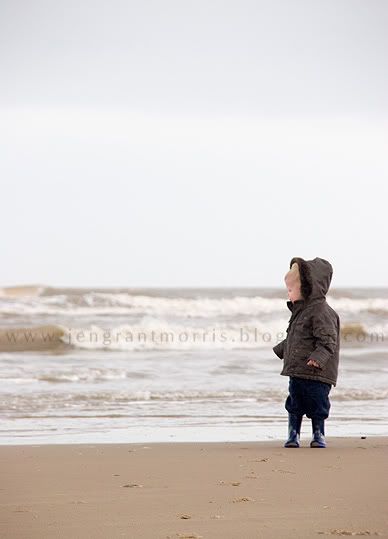
Here you can see more photographs where zooming out was the right choice. Outdoor shots can be especially effective as your subject becomes a small part of the scene. The images convey a sense of space or highlight your subject's tininess.
I hope some of these simple tips and tricks will help you to improve your own photography. Before long, with a little practice, they will become second nature.