Daniel has moved into Noah's room - I guess it's been long enough since they shared a room that it is a novelty now. The other night Noah asked me to hang blankets around his bed to make a little den, and to help block the light if he decides to go to sleep while Daniel is still reading. It reminded me of the tent I'd been wanting to make.
Yesterday I spent 9 hours finally making it. And he loves it! The pictures don't really do it justice, it looks better (and less wrinkled) in real life. And yes, I've ironed it and ironed it but cotton drill that has been bunched up in a box for ages tends to want to hold onto the creases *sigh* Hopefully they will drop out over time, but honestly it doesn't look as bad in real life.
I already had the red fabric and I got the black and grey fabric from someone on Freecycle a few months ago.
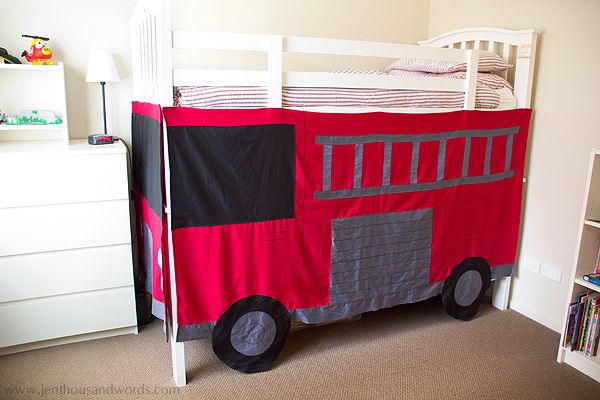
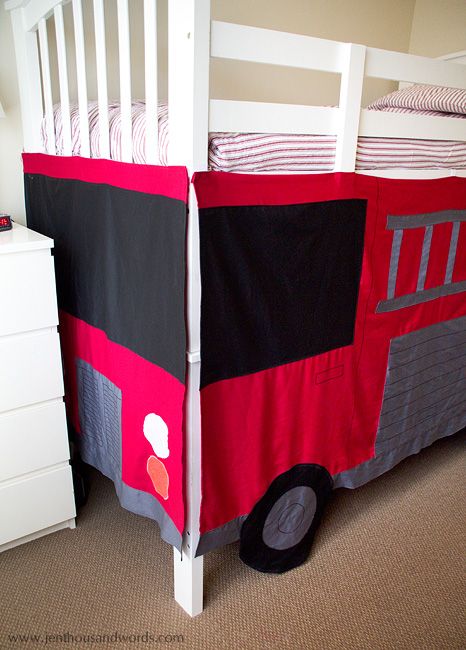
Here's how it looks with Daniel's storage pocket and the ladder in place.
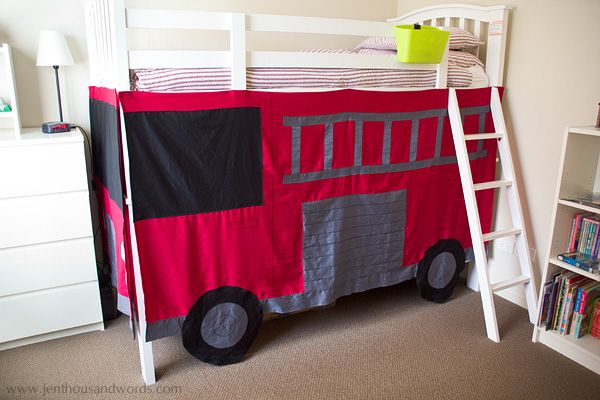
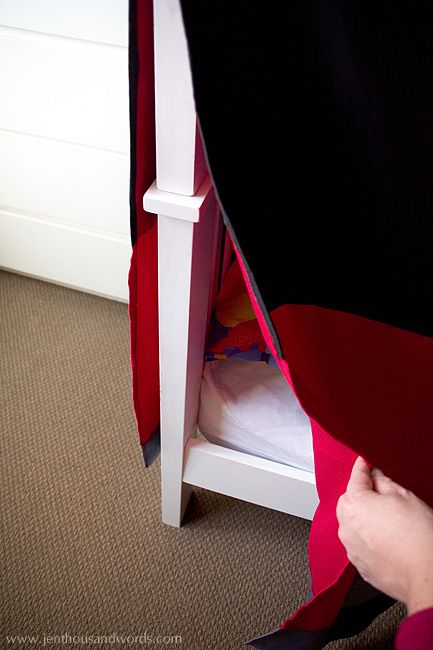
The tent sides and front fasten on with twill tape straps and velcro.
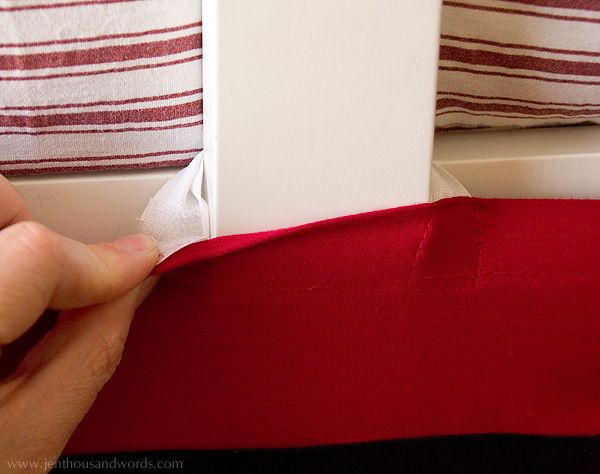
I made the front and the side separate so that Noah could get in and out of his bed easily.
I looked at a bunch of clipart online and decided on a design, which I created to scale in a programme called QuarkXpress.
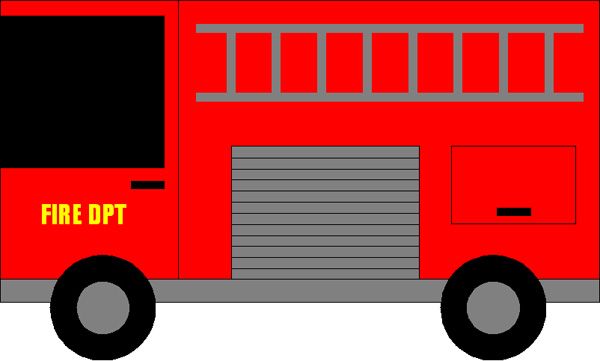
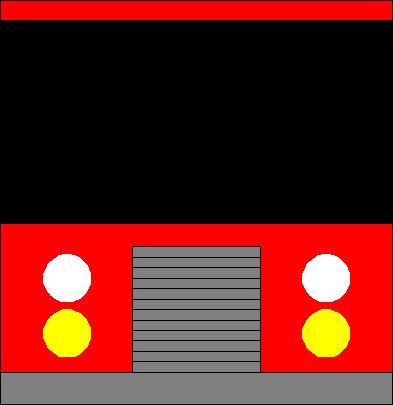
Following the measurements I cut out the main body ...
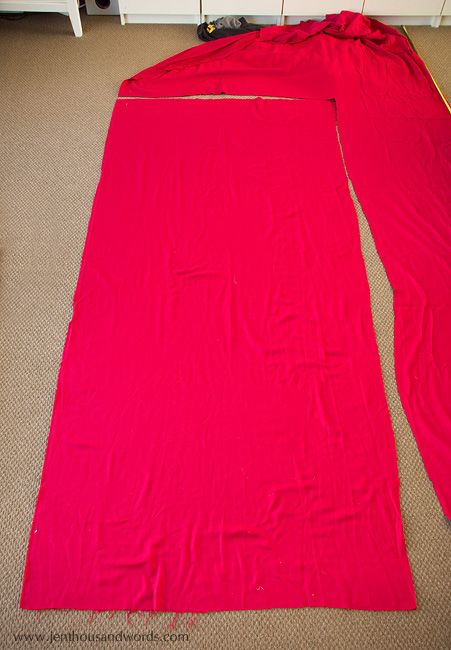
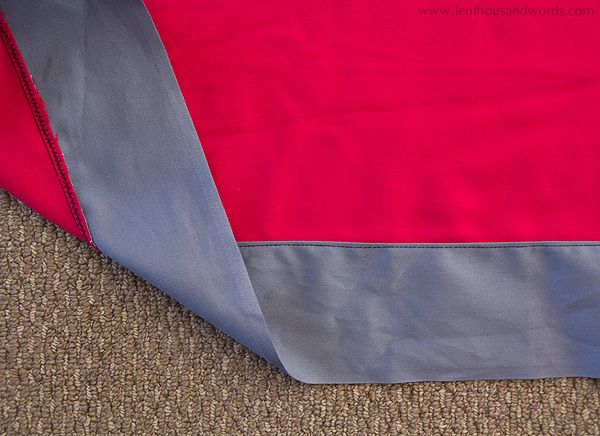
Then I sewed on the bottom grey bumper:
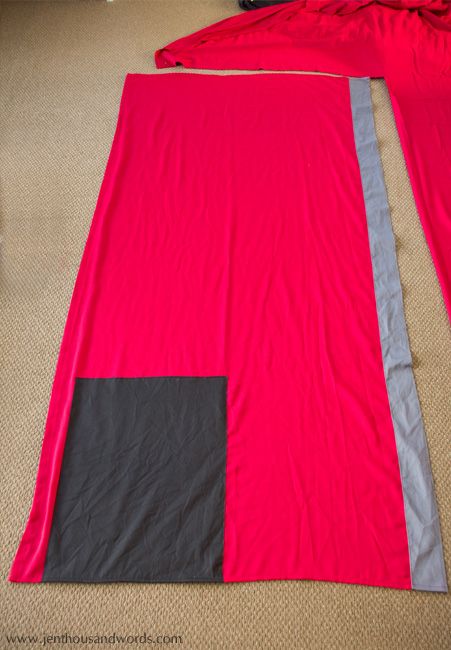
I added a black rectangle for the window.
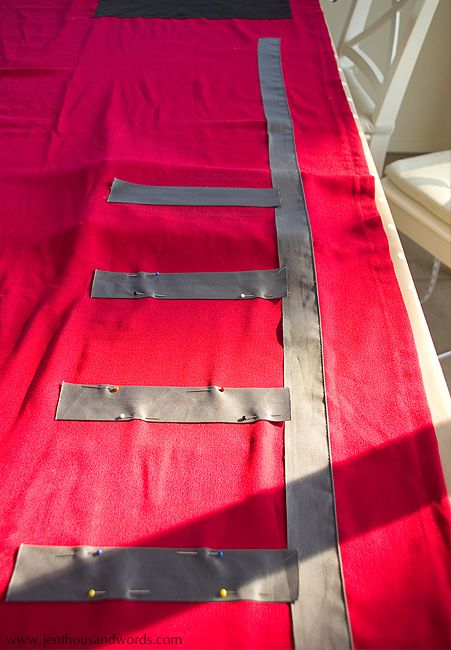
Then I measured, cut and pinned on the ladder pieces. I stuck them on with iron on hemming tape as well as pins so they wouldn't budge while I was sewing them.
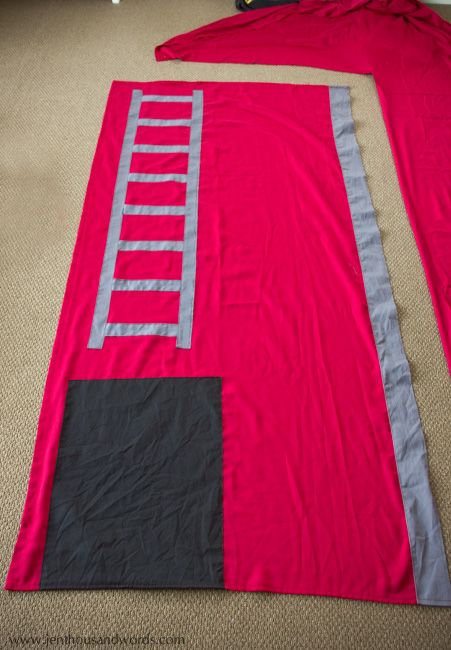
I sort of lost the plot with the photos at this point as I was rushing to get most of it done before the kids got home from school, so I'll just explain what I did (with a few photos that I did remember to take).
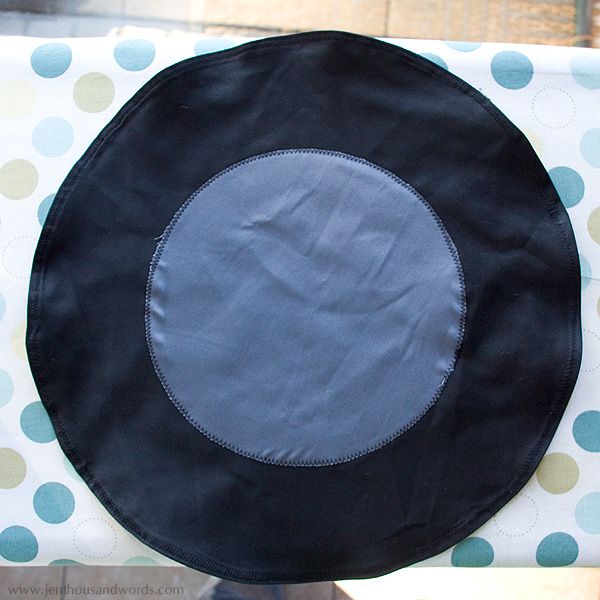
I made a paper template to cut the wheels with, and cut two black circles for each wheel. I sewed them together, turned them inside out and zig-zagged around the edge. Then I added a grey circle to the middle (zig zagged on) and drew a circle with permanent marker (not shown). All of the detail markings on the fire engine were made with a permanent marker pen.
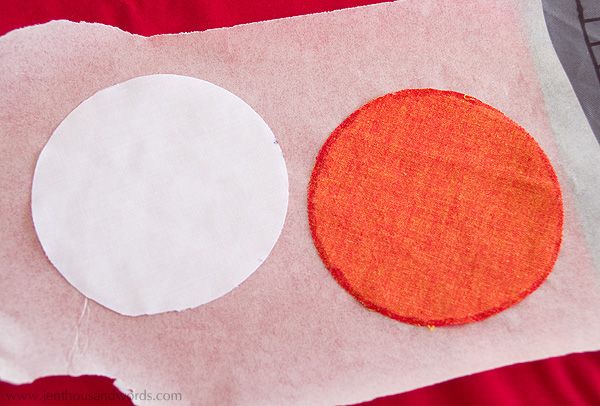
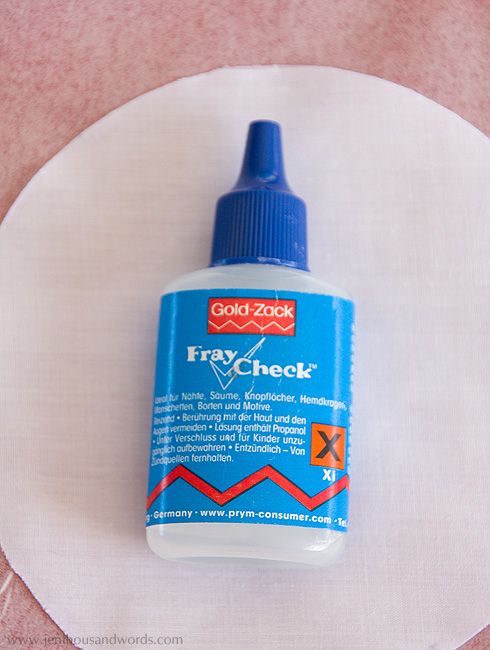
For the headlights I cut circles of fabric and used Fray Check on the edges. You can see the wet edges in the picture below but Fray Check dries invisible and the edges of the fabric are sealed and won't unravel. I love it! I just zig-zagged the shapes onto the fire engine once the edges were dry.
I am so pleased with how it turned out and how much Noah enjoys it. I think it would be super fun to make different themes (well ... super fun for someone else to make them - I am done!) like an underwater scene, a cottage with window boxes full of flowers, an ambulance or a castle.
